How to Transcribe Audio to Text Fast and Accurately
Learn how to transcribe audio to text quickly and accurately with the right tools, settings, timestamps, and editing workflow for clean results.
You press play on a recorded lecture and immediately feel behind. The professor moves quickly, several terms sound unfamiliar, and your notes capture fragments rather than the explanation connecting them. Later, you replay the same section, recognize the words, and mistake that recognition for learning.
A transcript changes the job. Instead of searching through an hour of audio, you can find a term, jump to its timestamp, compare the explanation with your notes, and turn the important passages into questions or flashcards. The useful goal isn't text alone. It's a searchable, timestamped study source that preserves enough speaker context to support review.
Table of Contents
- Why Accurate Transcripts Change How You Study
- Choosing Your Transcription Path and What Each Is Best For
- How to Transcribe Audio to Text From Recording to Finished File
- Settings That Actually Improve Accuracy and When They Matter Most
- Editing Timestamps and Polishing Your Transcript for Real Use
- Turning Your Finished Transcript Into Better Grades
Why Accurate Transcripts Change How You Study
A student who relies only on replay often spends study time listening passively. The lecture feels familiar because the brain recognizes the material, but recognition isn't the same as recalling it without help. A transcript gives you something to test yourself against: hide the answer, write what you remember, then check the relevant passage.
That makes transcription part of a capture-to-study workflow, not a clerical chore. The recording is raw material. The finished transcript becomes a searchable index for summaries, questions, definitions, examples, and points that need another explanation.
What a useful transcript contains
A raw stream of words can still be difficult to study. Aim for four practical features:
- Searchable text: Find a concept or name without scrubbing through audio.
- Timestamps: Return to the exact moment where an explanation begins.
- Speaker clarity: Separate the lecturer, classmates, interviewer, or meeting participants.
- Readable formatting: Keep paragraphs, headings, and technical terms easy to scan.
The transcript can't recover words that never reached the microphone clearly. It also can't reliably resolve every overlapping voice, unfamiliar name, or specialist term without review. Historical progress helps explain both the promise and the limits. Bell Labs built Audrey in 1952, IBM demonstrated Shoebox in 1962, and Carnegie Mellon expanded speech recognition with Harpy in the 1970s. Consumer products followed with Dragon Dictate in 1990 and Dragon NaturallySpeaking in 1997, as described in this history of speech-to-text technology.
Practical rule: Use the transcript to retrieve and test knowledge, but keep the original recording available for uncertain passages.
For one short recording, a quick automatic conversion may be enough. For lecture-heavy courses, a repeatable system matters more. Save files by class and date, preserve timestamps, correct important terminology, and review the transcript soon after capture. That small amount of organization turns scattered recordings into material you can revisit throughout the term.
Choosing Your Transcription Path and What Each Is Best For
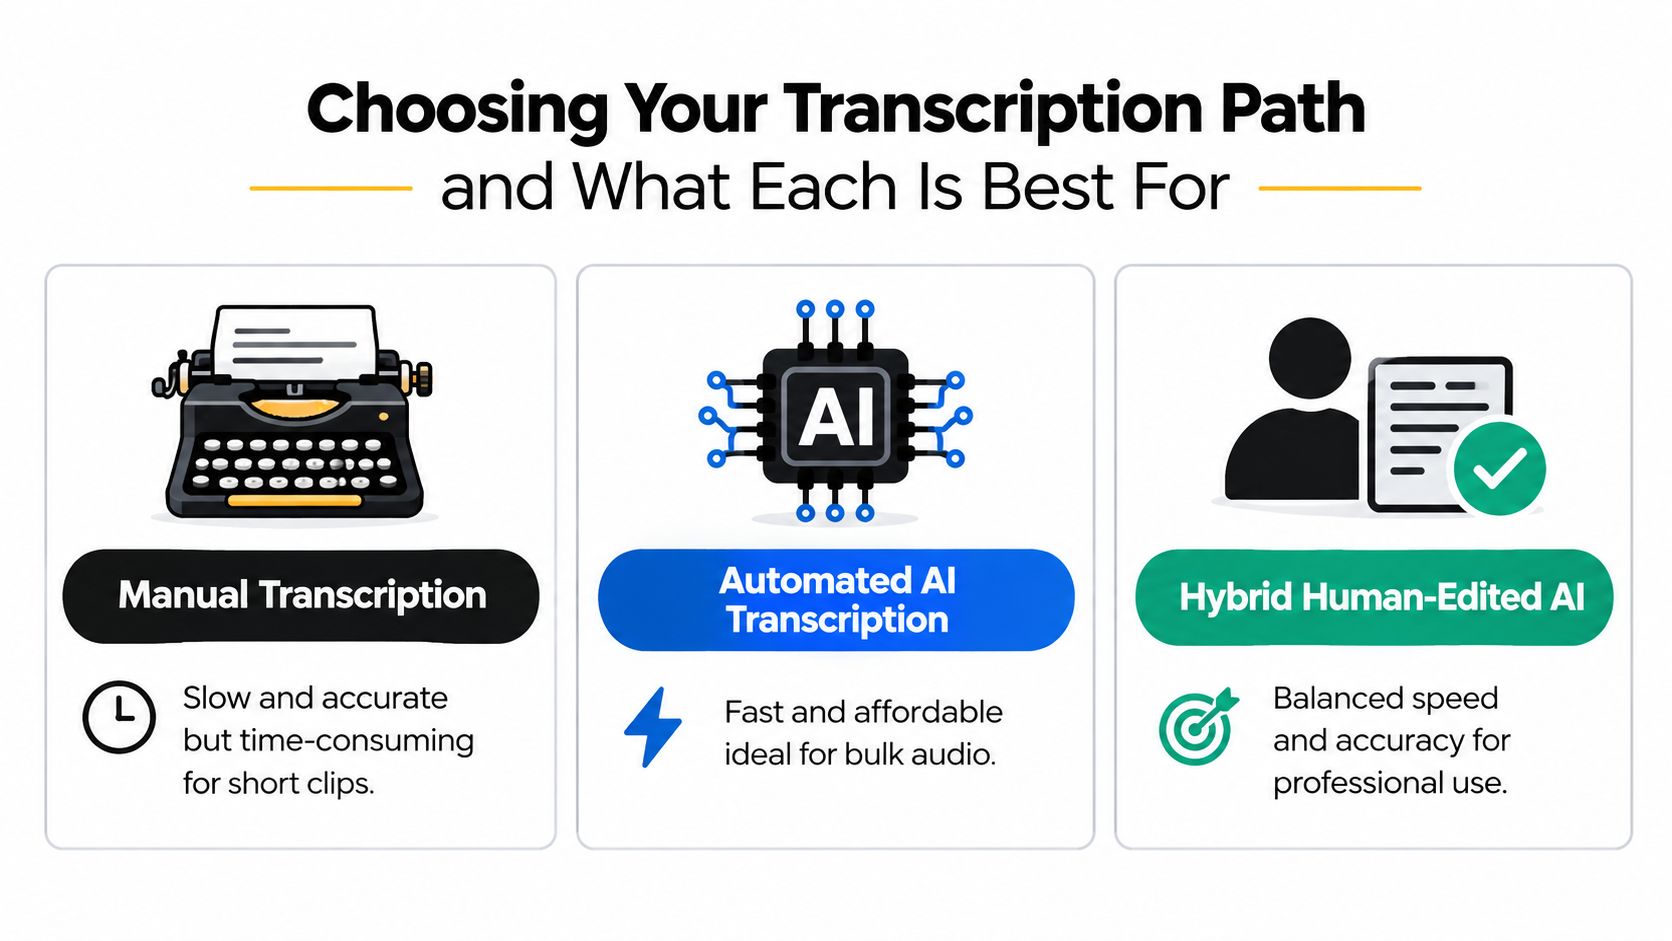
The right method depends on what you're transcribing and what “accurate enough” means for the result. A short interview with two clear speakers has different needs from a noisy group meeting or a semester of lectures.
Manual transcription
Manual work gives you direct control. You pause, replay, identify speakers, and choose exactly how to represent pauses or unclear speech. It's a sensible choice for a short clip, sensitive material that can't be uploaded, or a passage where every word matters.
The trade-off is effort. Typing a long lecture manually can consume the time you need for understanding and review, and fatigue makes consistency harder.
Automated AI transcription
Automatic transcription is the practical starting point for large amounts of audio. Upload a recording, select the language when required, and let the system create a first draft. This works well when you need to search a lecture, locate a quotation, create a rough summary, or process recurring recordings.
It isn't hands-off quality control. Names, formulas, acronyms, code, and overlapping speech still deserve a targeted check. A useful overview of available approaches can help you compare audio-to-text converter options before choosing a workflow.
Hybrid human-edited AI
Hybrid transcription uses automation for the first pass and a person for the important corrections. It suits interviews, published content, professional records, and academic material with specialized vocabulary. You get speed without treating the machine draft as final truth.
For students, the choice is often simple: automate routine lecture capture, then edit only the parts that affect meaning. A single unclear term in a biology, law, or engineering lecture can matter more than dozens of harmless filler words. ClassLecture.ai is one option that combines recording or uploading with transcripts and study-oriented tools, while other services may focus mainly on conversion.
How to Transcribe Audio to Text From Recording to Finished File
Start with the source, not the transcription button. A clean, stable recording gives the system a better signal to interpret and gives you a clearer reference when you edit the result.
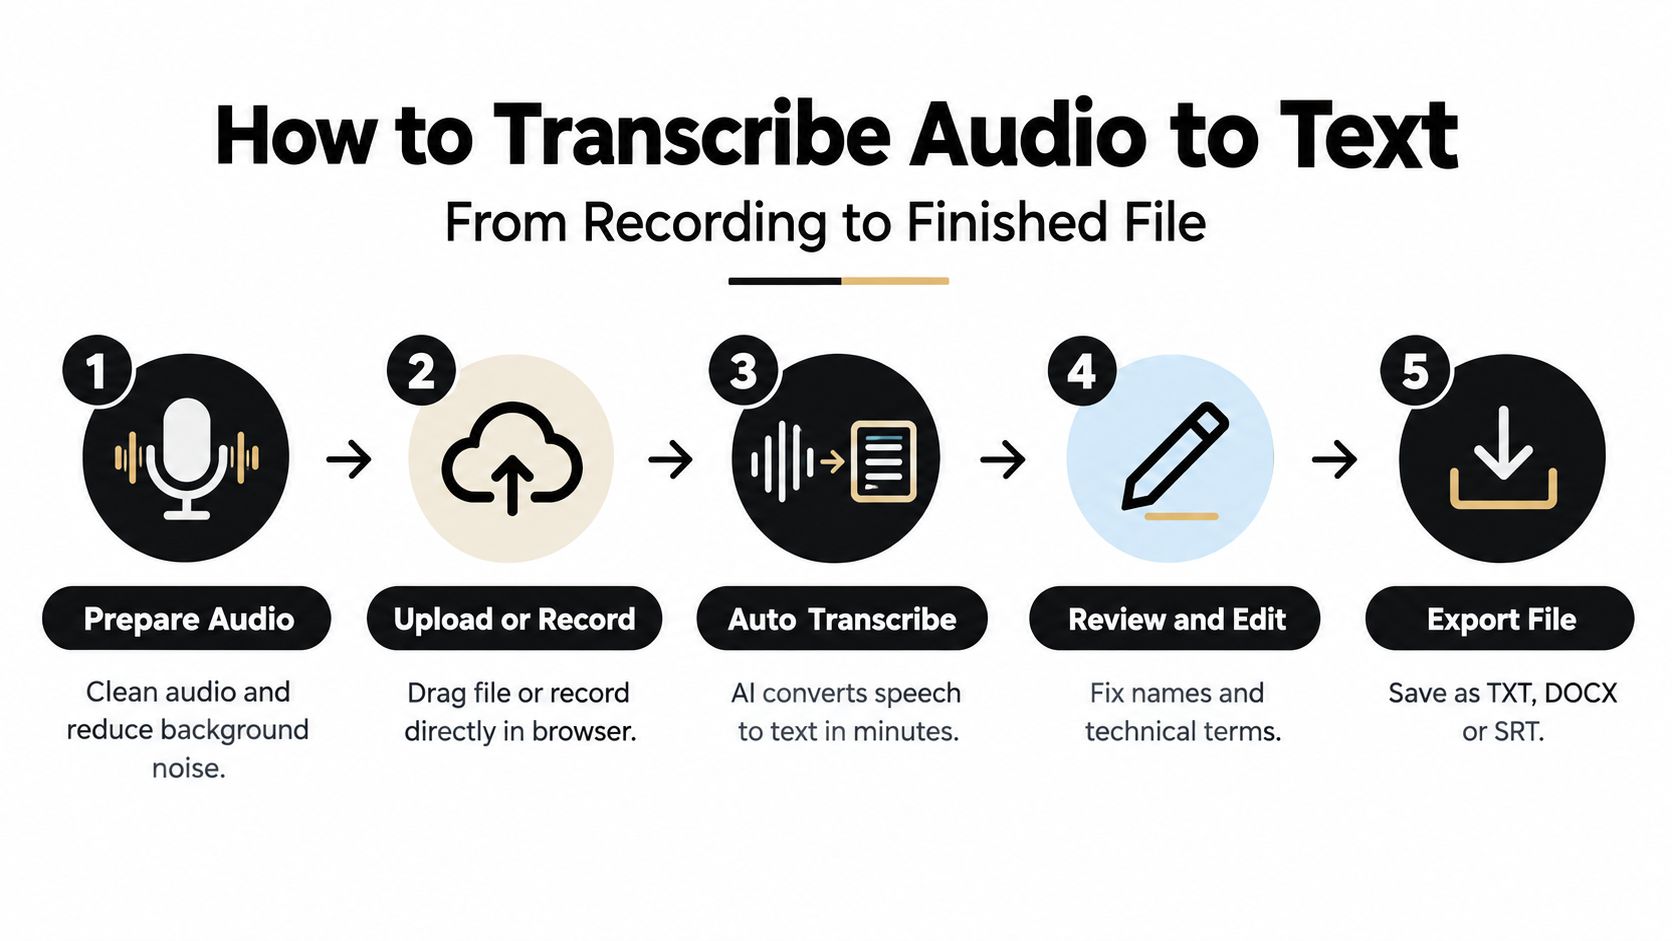
Prepare the audio before processing
Use the original file whenever possible. Avoid repeatedly exporting and recompressing the recording, since each unnecessary conversion can introduce artifacts. Name files consistently, such as Biology_2026-09-23_Cell-signaling, and place them in a folder for the course or project.
Commonly useful formats include MP3, MP4, M4A, WAV, MOV, and WEBM. If you have both a lecture video and a separate audio recording, keep the video available as a visual reference. The audio may be easier to process, while the video can help you identify slides, gestures, or moments when several people speak.
Upload or record directly
For an existing lecture, drag the file into your transcription workspace and confirm the language. For a new class or meeting, recording in the browser can remove the extra step of finding and exporting a file later. Check microphone permissions first, and make a brief test recording if the session is important.
Bulk upload helps when several classes have accumulated. Keep the filenames descriptive so the resulting transcripts remain connected to the correct course and date. If the lecture lives at an external video location, attach that source where supported so you can refer back to the original presentation.
Run the transcription, then inspect the draft
Automatic systems convert the speech into text, often with timestamps and speaker separation. Don't begin by reading every line. First search for the lecture title, key terms, names, and any passage you already know was difficult to hear.
This quick scan reveals whether the main problem is general audio quality or a small set of specialized terms. If the transcript is broadly readable, edit selectively. If entire stretches are missing or confused, improve the recording setup or choose a different source before spending time polishing individual sentences.
Export a file you can actually use
Save the transcript in a format that matches the next task. TXT is convenient for plain searching, DOCX works well for editing and annotation, and SRT preserves time-linked captions. Keep the original transcript as an untouched reference, then create a cleaned copy for study notes.
The workflow is easier to repeat when each file follows the same naming and storage pattern.
| Stage | What You Do | Result |
|---|---|---|
| Capture | Record or locate the clearest source | A stable audio or video file |
| Process | Upload the file or record in the browser | An initial transcript |
| Check | Search terms, names, timestamps, and speakers | A focused correction list |
| Refine | Edit meaningful errors and format paragraphs | A readable study document |
| Reuse | Summarize, question, annotate, or export | Materials ready for review |
For recordings from online classes, a dedicated guide to transcribing Zoom recordings can help you avoid losing the source file or its timing information.
Settings That Actually Improve Accuracy and When They Matter Most
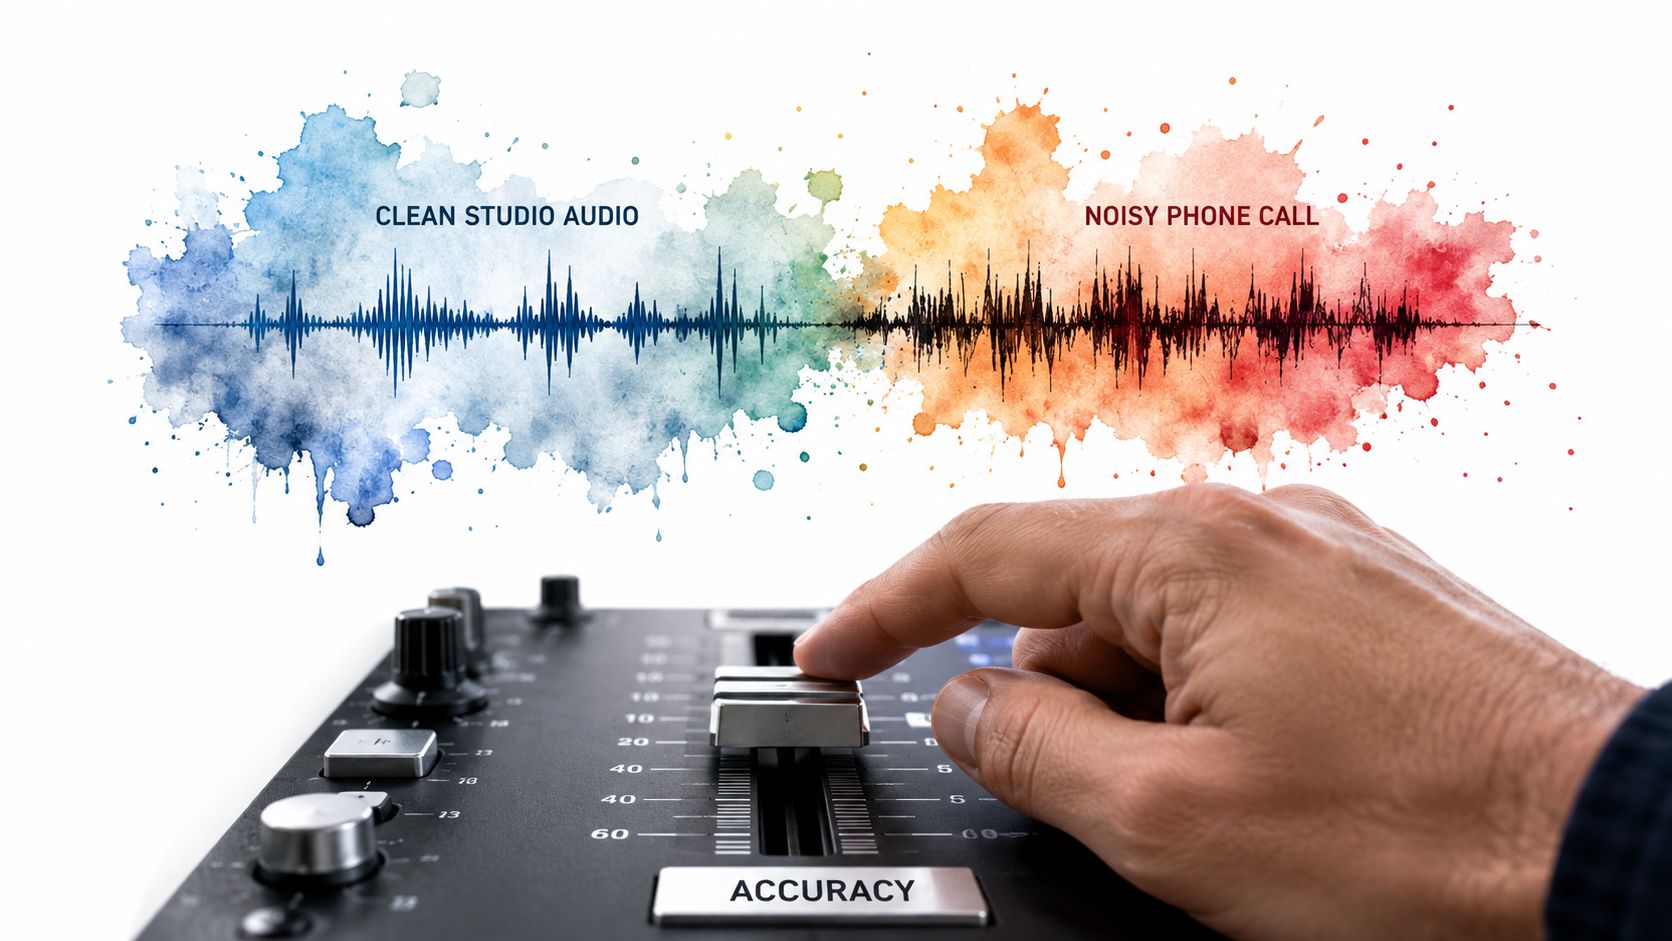
“Use good audio” is too vague to guide a fix. Accuracy changes with the recording environment, the number of speakers, pronunciation, and the vocabulary being spoken. Microsoft researchers reported human parity on the Switchboard conversational speech task in 2017, while later benchmarks place top systems around 95% to 99% for clear conversational English. At the same time, systematic reviews have found word error rates from 8.7% in controlled dictation to over 50% in noisy, multi-speaker conditions, as summarized in this speech recognition overview.
Diagnose the recording first
Clear studio-style audio can reach roughly 95% to 98% accuracy, while real-world accented or noisy audio often falls around 70% to 90%, according to this analysis of speech-to-text accuracy. Video calls, phone recordings, distant microphones, room echo, and simultaneous speakers each remove useful acoustic information.
Fix the largest problem first:
- Distant voice: Move the microphone closer or use a dedicated microphone.
- Room noise: Choose a quieter location and keep fans or keyboards away from the pickup area.
- Low call quality: Use the clearest available recording rather than an audio clip captured from a speaker.
- Multiple voices: Ask participants not to talk over one another and enable speaker labeling when available.
Match settings to the content
Language selection matters when the service supports it. Speaker diarization can help separate participants, but it can't reliably untangle speech that overlaps heavily. Custom vocabulary or a glossary is especially useful for names, abbreviations, course terminology, and words that sound alike.
Accents require more than noise reduction. A global audit of English automatic speech recognition services used more than 2,700 speakers from 171 countries and found broad inconsistency across accents. Another study reported that underrepresented groups, including Sylheti and Haitian Creole speakers, experienced WER, CER, and KER values 15 to 20 percentage points worse than better-represented groups, as discussed in this research on accessibility across accents.
That evidence changes how you review a transcript. An unfamiliar accent isn't evidence of unclear thinking, and repeated recognition errors may reflect system coverage rather than speaker quality. Listen to uncertain passages, preserve the speaker's meaning, and don't “correct” phrasing you only assume is wrong.
For practical microphone placement and noise-reduction ideas, use this guide to reduce background noise on a microphone.
Editing Timestamps and Polishing Your Transcript for Real Use
Editing shouldn't mean rewriting every spoken sentence. It means correcting the parts that affect retrieval, meaning, and trust. Start with a focused pass rather than reading from the first word to the last.
Correct the anchors first
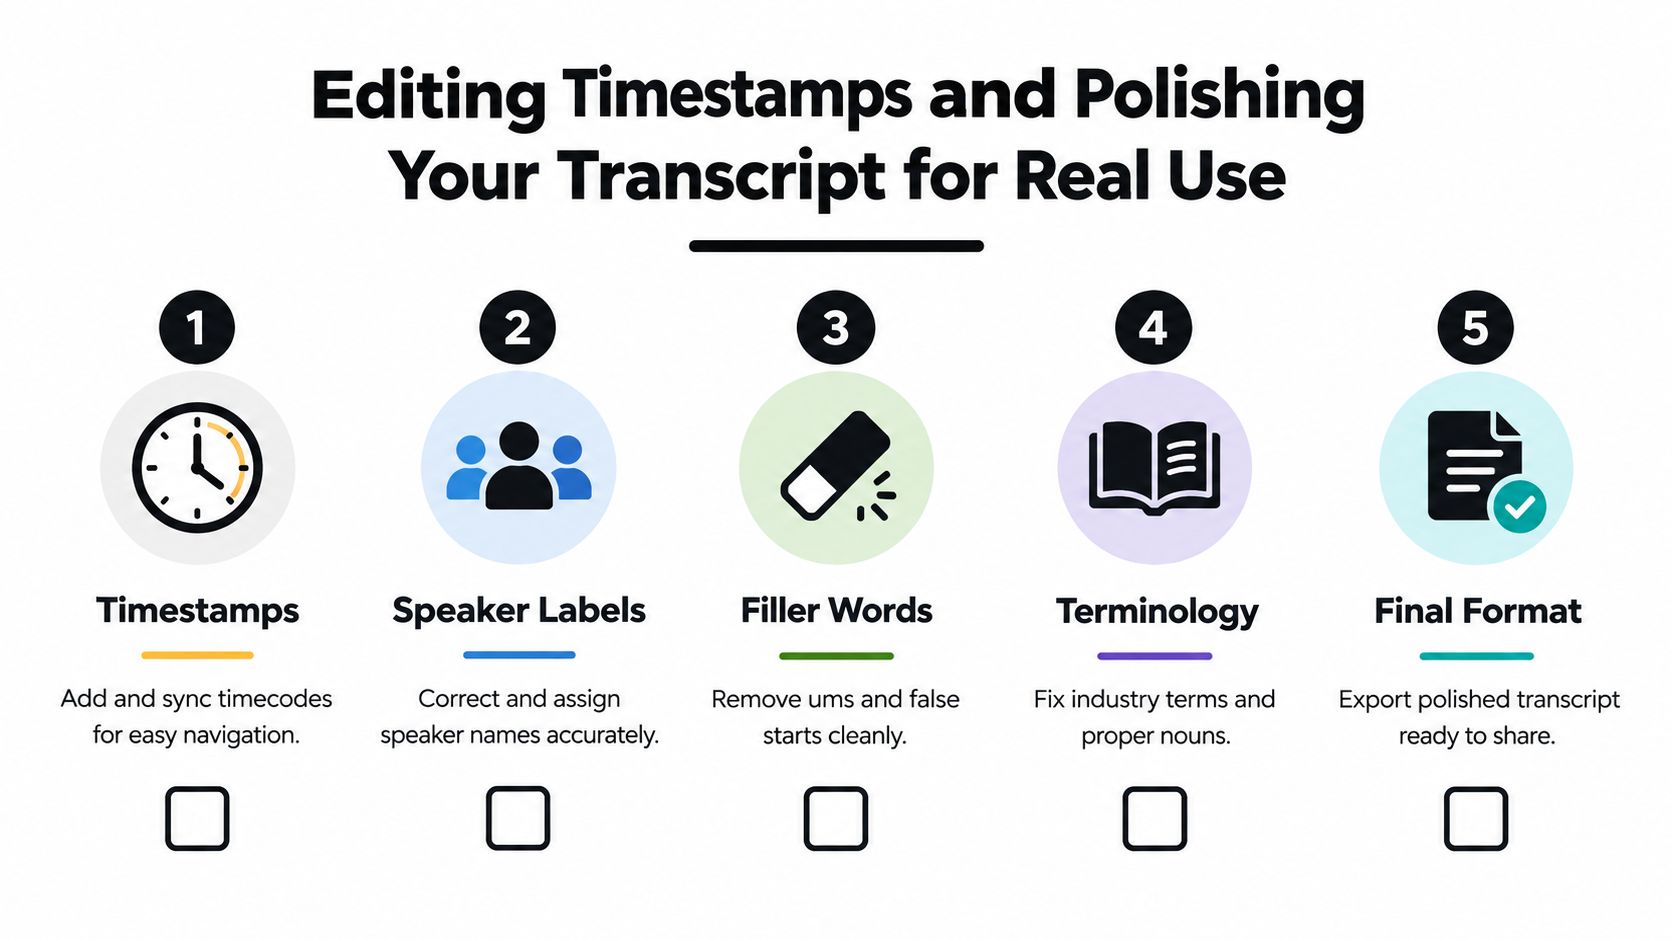
Search for proper nouns, numbers, formulas, dates, and technical terms before worrying about filler words. These details are easy for an automated system to mishear and costly for a student to memorize incorrectly. Compare each uncertain term with the slide, textbook, syllabus, or original audio.
Then check the timestamps around major topics. A timestamp should lead you close enough to the relevant explanation that you don't need to hunt through the recording again. If the system has shifted a time marker, move it to the beginning of the useful passage.
Make speakers and sentences readable
Correct speaker labels when the transcript assigns the wrong person. In a lecture, labels may be simple, such as “Professor” and “Student.” In a discussion, use names only when you're confident about them.
Remove repeated fillers and false starts from the study copy, but keep the original version for reference. Break long spoken stretches into paragraphs, preserve meaningful pauses or uncertainty, and mark unintelligible audio instead of guessing.
A fast quality check can follow this order:
- Find the fragile details: Names, terminology, numbers, and quotations.
- Check the navigation: Timestamps should point to topic changes and important explanations.
- Review speaker changes: Correct labels around questions, interruptions, and discussion.
- Build a glossary: Record the correct spelling and meaning of recurring course terms.
- Save two versions: Keep the raw transcript and export the polished study copy.
This pass is short enough to repeat after each lecture, and it creates a transcript you can trust without turning editing into another full study session.
Turning Your Finished Transcript Into Better Grades
A transcript becomes valuable when you do something with it. After cleaning a lecture, write a short summary from memory, then compare it with the source. Turn headings and explanations into questions such as “What causes this process?” or “How does this example support the theory?”
Use the transcript to create flashcards, but review them over time rather than reading the entire document repeatedly. Spaced repetition works best when you attempt an answer before checking the explanation. You can also keep a separate list of unclear passages and resolve them with the textbook, office hours, or the original recording.
Organize transcripts by class, date, and topic. That structure lets you review one lecture, compare related explanations, and prepare questions before an exam. The recording is not the study session. It's the capture layer that supports retrieval, explanation, and repeated review.
Choose one recent lecture today. Transcribe it, correct the terms that matter, write a short recall-based summary, and turn a few concepts into questions. Once that routine feels manageable, repeat it after the next class instead of waiting for a large backlog.
ClassLecture.ai lets you upload or record lectures and turn them into searchable transcripts, summaries, flashcards, and questions grounded in your own study materials. Visit ClassLecture.ai to transcribe one recent lecture and start a complete capture-to-study workflow.
The ClassLecture.ai Team
We build ClassLecture.ai, the AI study assistant that turns your recorded lectures into transcripts, summaries, flashcards, and answers cited to the exact timestamp — so you learn faster from your own professor's words.
Keep reading
10 Otter AI Alternatives for Smarter Study
Compare 10 otter ai alternatives for students, professors, researchers, and meeting hosts, including features, pricing, privacy, and best use cases.
Read10 Trig Identities Flashcards Resources for 2026
Compare 10 trig identities flashcards resources, including interactive decks, printable aids, spaced repetition, study tips, and sample cards.
Read10 Lecture Transcription App Options Compared
Compare 10 lecture transcription app options for accuracy, study workflows, pricing, integrations, and privacy before choosing a tool.
Read