Video Quality Settings for Lectures: What to Choose
Learn which video quality settings suit lecture recordings: resolution, bitrate, frame rate, codec and file size, plus upload tips.

You've opened the recording settings before class, and the menu offers more numbers than useful advice. Your slides look crisp on your laptop, but students may watch on phones, share a weak connection, or need to read a small equation. The right choice isn't the biggest number in the menu. It's the setting that preserves the part of the lesson students need to see and hear.
Table of Contents
- Recommended Lecture Settings at a Glance
- Resolution, Bitrate and Frame Rate Explained
- What Each Resolution Costs in Storage
- Codecs and Playback Compatibility
- Balancing File Size Against Readability
- Settings for Weak or Shared Connections
- When Higher Quality Stops Helping Learning
- Confirm Your Settings Before the Next Lecture
Recommended Lecture Settings at a Glance
For a lecture built around slides and a stationary speaker, start with 1080p at 30 fps. It usually preserves on-screen details without the storage demands of 4K. Resolution and bitrate work together: resolution sets the frame's pixel count, while bitrate affects how much detail compression can retain.
| Scenario | Resolution | Frame rate | Starting bitrate and note |
|---|---|---|---|
| Slide-heavy talking-head lecture | 1080p | 30 fps | About 4–6 Mbps; test with a sample |
| Whiteboard or handwriting | 1080p | 30 fps | Higher than the slide setting; thin strokes need more bits |
| Demonstration or lab with rapid movement | 1080p | 60 fps only if fast motion matters | Raise bitrate above the slide setting to avoid blocky motion; test with a sample |
| Weak connection or shared Wi-Fi | 720p | 30 fps | About 3 Mbps; keeps the stream light |
These are starting points, not universal presets. A static slide has little motion to preserve, while handwriting combines fine strokes with a moving hand. For a speaker beside slides, 60 fps usually adds little; reserve it for demonstrations where motion helps explain a process.
A larger frame does not automatically make a lesson easier to study. Check whether small text remains readable at the size students are likely to watch, then choose a bitrate that supports that image. For mostly stationary lectures, reducing the frame rate from 60 to 30 fps can also reduce demands on storage and bandwidth.
Decision rule: Choose the resolution at which text stays readable on the screen students will use, then set the bitrate to support it.
For a recording workflow, see how to record lectures. Before capturing a full class, make a two-minute sample that includes the smallest slide text, play it full screen on a likely student device, and check that each word and equation is readable.
Resolution, Bitrate and Frame Rate Explained
Think of a lecture video as a drawing made from many sketches. Resolution is the size of the canvas, bitrate is the ink budget available for each second, and frame rate is how many sketches appear each second. The three settings work together, so increasing one doesn't automatically make the picture clearer.
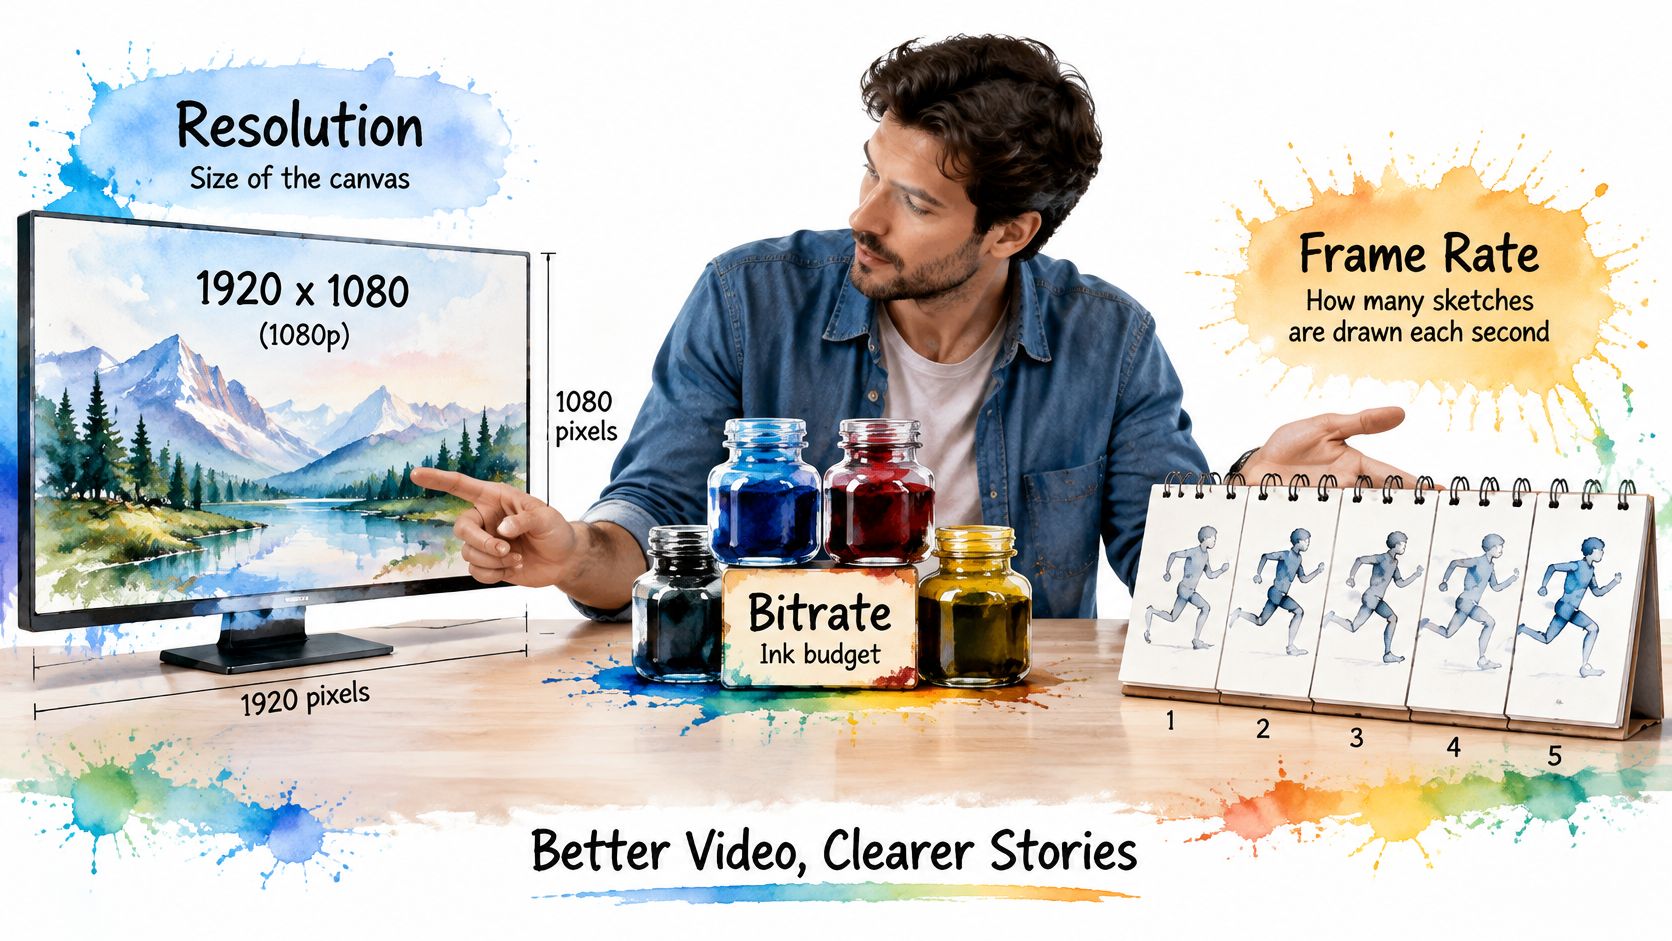
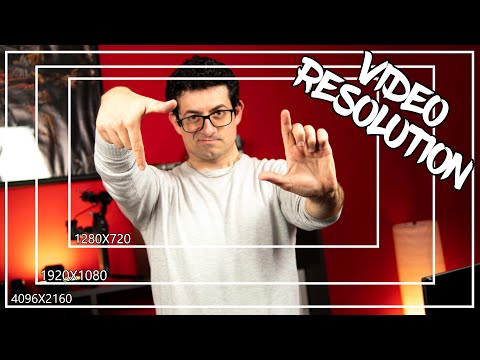
Resolution describes the number of pixels in each frame. A 1080p video is typically 1920 × 1080 pixels, 720p is 1280 × 720, and 4K is 3840 × 2160. More pixels can represent finer detail, but they don't guarantee that the encoder has enough information to preserve that detail in the saved or streamed video.
Bitrate is the amount of compressed video data sent each second, usually measured in kilobits or megabits per second. Imagine drawing the same fine-print slide with a nearly dry pen: the canvas is large, but the lines break up. A 4K frame with too little bitrate can smear text, while 1080p with enough bitrate can retain clean edges. If a slide looks soft, raising the resolution without raising the bitrate may spread the available “ink” more thinly across the picture.
Frame rate counts how many frames appear each second. At 30 fps, the video shows 30 frames each second; 60 fps shows twice as many, which can make quick hand movements look smoother. For a talking instructor and mostly still slides, the extra motion detail usually isn't worth the larger data demand. For rapid handwriting or a moving demonstration, a higher frame rate can make the action easier to follow.
A typical lecture with a clear slide and a small face-camera view illustrates the trade-off. If students can't read the equation, first check whether the bitrate is sufficient and whether the slide itself uses readable text. Increase resolution only if the intended viewing size needs more pixels. For advice on managing the whole production flow, LearnStream's guide to hosting better webinars with LearnStream can help you think through recording and delivery together.
Resolution sets how much detail is possible; bitrate decides how much of that detail survives.
What Each Resolution Costs in Storage
For a lecture you plan to keep, bitrate offers a useful starting point for estimating storage. The table gives approximate planning ranges for typical streaming bitrates. Actual recording sizes vary with encoding settings and content, so use these figures as estimates rather than promises.
| Resolution | Bitrate | Data per hour |
|---|---|---|
| 480p | About 1,750 kbps | About 792 MB |
| 720p | About 3,000 kbps | About 1.3 GB |
| 1080p | 4,300–5,800 kbps | 1.9–2.55 GB |
| 4K | 8,000–16,000 kbps | 3.5–7 GB |
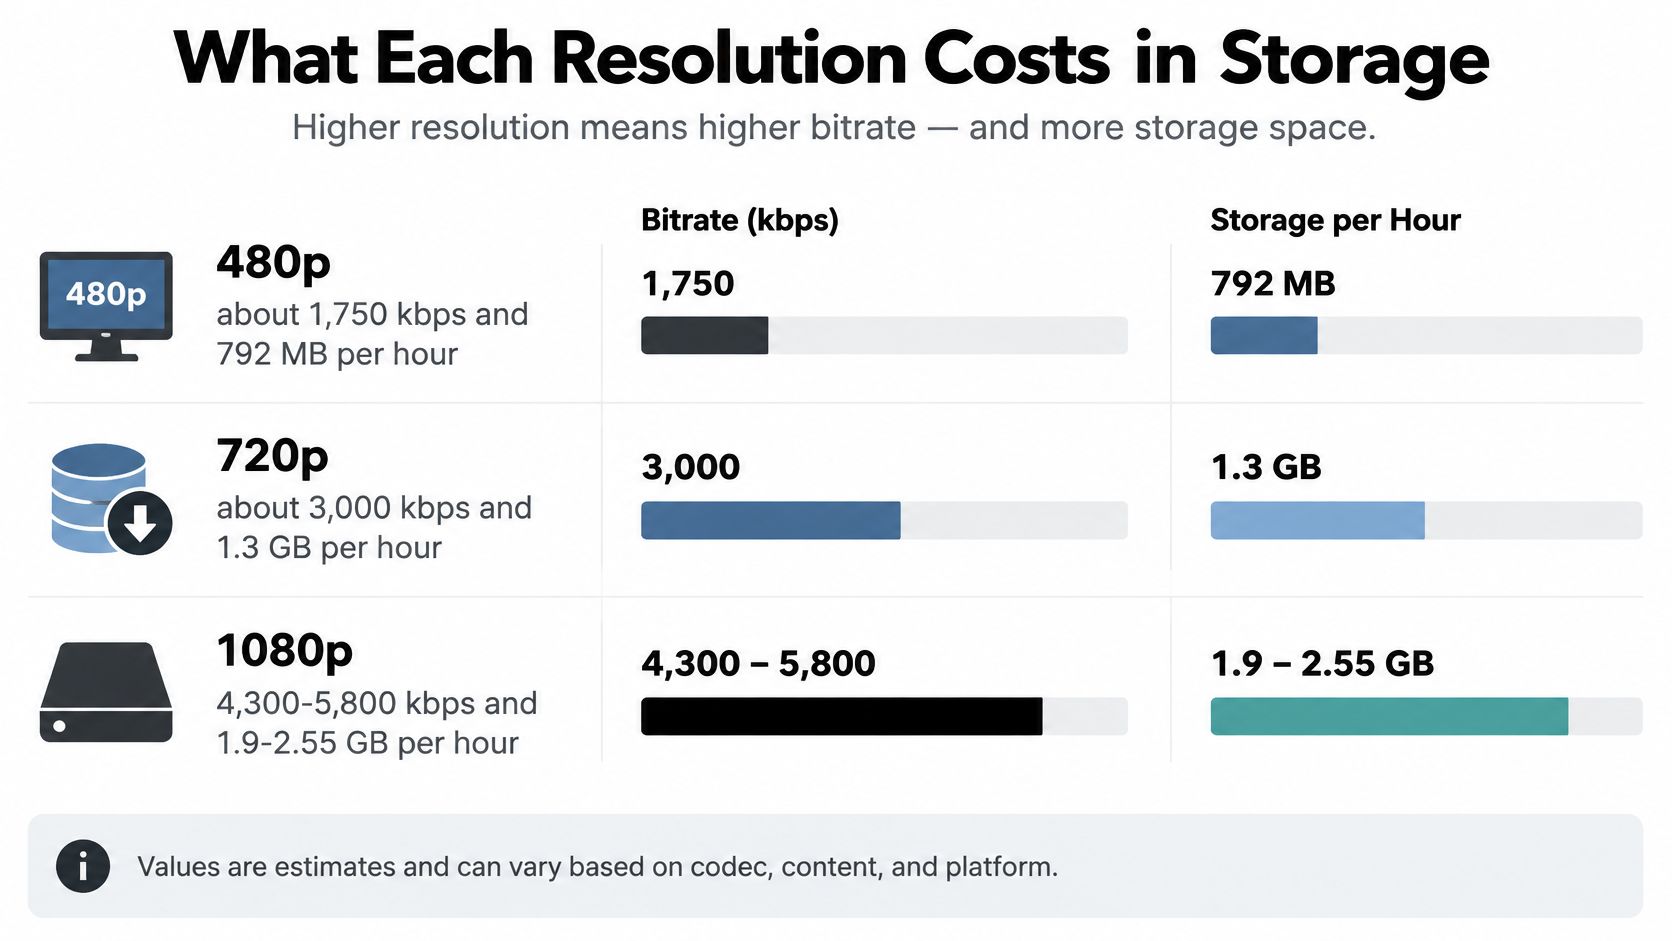
A 90-minute lecture recorded at 1080p would use roughly 3–4 GB at the rates shown. Thirty lectures could therefore take about 90–120 GB, before editing copies or alternate versions. Treat this as a planning estimate: the encoder and lecture content affect the final size.
Frame rate can also change storage needs while resolution stays the same. More frames mean more video data to encode, especially when the picture contains frequent movement. For a lecture, the useful question is whether that added motion detail helps students follow handwriting or a demonstration.
Estimate before you record
Multiply the video bitrate by the recording time, then convert bits to bytes to estimate file size. If your recording software provides an estimated size, use it as a simpler check. Compare the estimate with available storage before recording a full course.
A higher resolution can require several times the data of a lower-resolution stream without making small slide text easier to read on a laptop. Check the slide or diagram at the size students will watch. Choose enough quality to preserve the details they need, rather than paying for pixels they may not see.
Checkpoint: Estimate the file size from the bitrate and lecture length before recording the first session.
Codecs and Playback Compatibility
A lecture with readable slides is useful only if students can open it. For recordings shared across phones, laptops, and browsers, H.264 video in an MP4 container is a practical default. The codec compresses and decompresses the video; the container packages the video stream and other media. Choosing MP4 alone does not specify which codec is inside.
| Codec | Introduced | Best lecture use | Playback compatibility |
|---|---|---|---|
| H.264 (AVC) | 2003 | Default for recordings and uploads | Broad compatibility across phones, laptops, and browsers |
| H.265 (HEVC) | 2013 | Smaller files at similar quality | Newer devices; some older browsers may fail |
| H.266 (VVC) | 2020 | Future archives, not classroom playback today | Limited playback support |
The International Telecommunication Union's overview of video standards describes H.264, H.265, and H.266 as milestones in video compression. Their release years are 2003, 2013, and 2020, respectively. More efficient compression can reduce the data needed to deliver a picture, but the playback device must support the codec.
Use this short check before distributing a course recording:
- Start with H.264 in MP4. It's a sensible first choice when students use different devices.
- Check the file on a phone and a school-issued laptop. Confirm that it opens and that the audio stays in sync with the slides.
- Choose H.265 only when students' devices support it. A smaller file offers little benefit if learners cannot play it.
The codec is only one part of the picture. Resolution sets the image dimensions, while bitrate affects how much data is available to represent each frame. For lecture playback, test the smallest slide text and handwriting at the size students will watch. Then choose a compatible codec that preserves those details without prioritizing cinema-level image quality.
Balancing File Size Against Readability
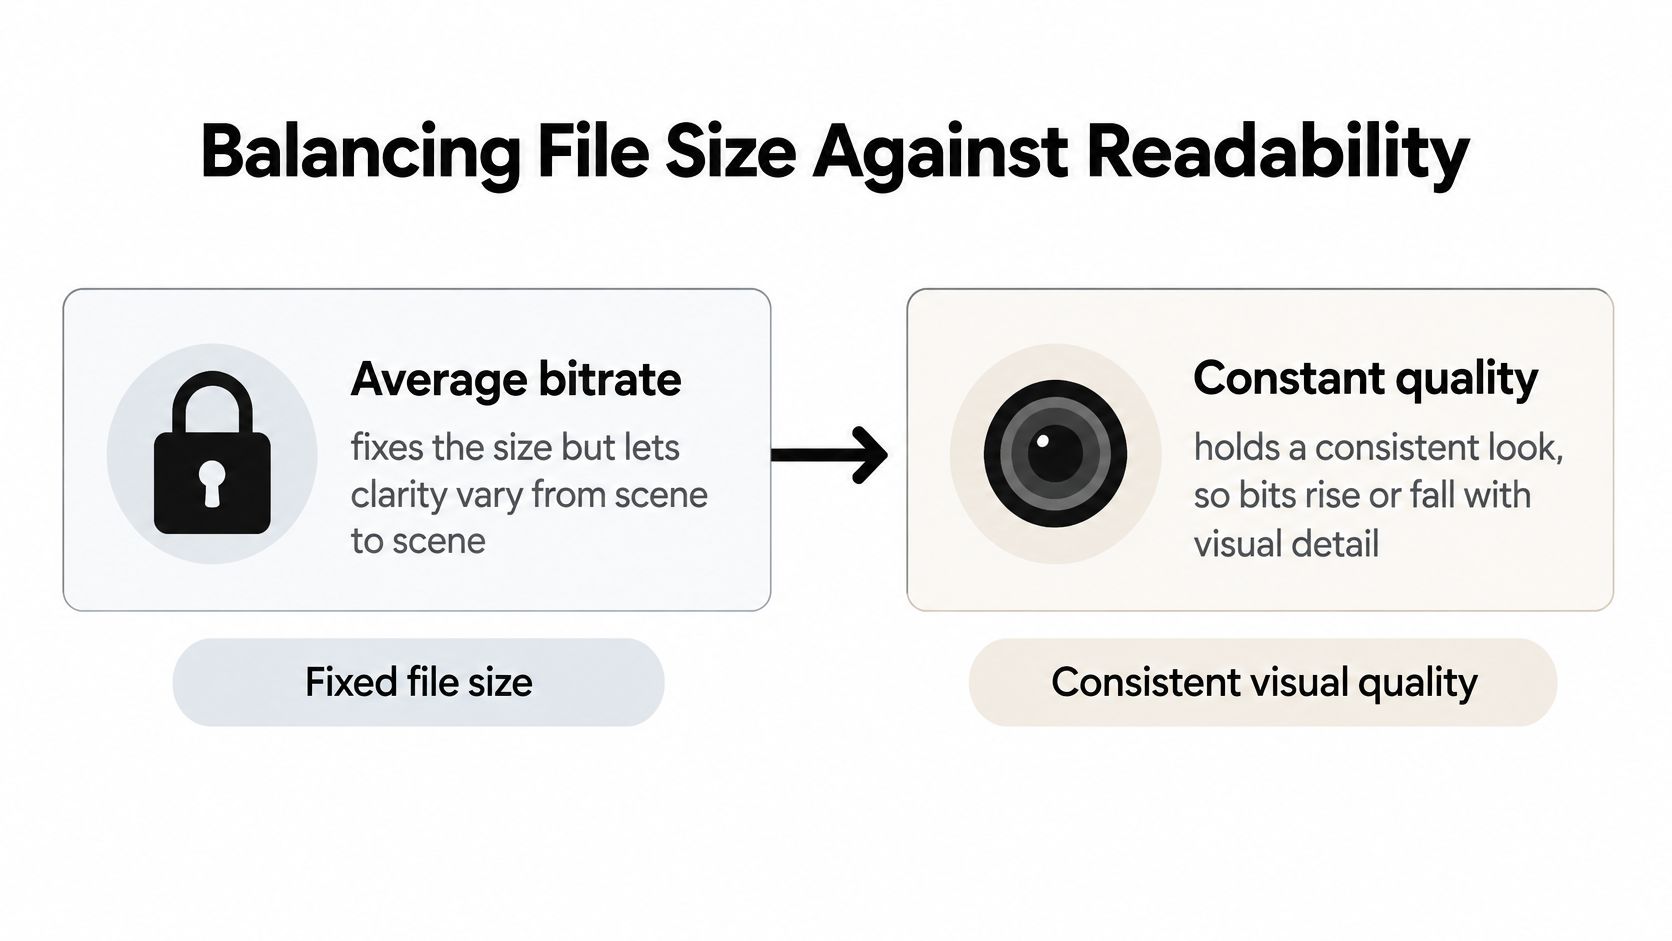
For a lecture archive, constant-quality encoding is often more useful than fixing an average bitrate. Average-bitrate encoding aims for a controlled output size, but the picture can lose clarity in a difficult scene. Constant-quality encoding aims for a consistent visual result, allowing bitrate and file size to rise for dense slides or handwriting and fall for a static talking head. HandBrake explains this trade-off in its constant-quality and average-bitrate encoding guide.
HandBrake's documentation gives RF 22 ± 1 as a starting point for 720p or 1080p HD encoding with x264. On this scale, a higher RF value reduces both quality and file size; a lower value increases both. Use the number as a test setting, not a guarantee that every lecture will look right.
Run a representative test
- Cut a short sample. Include the smallest slide text, a face-camera segment, and any whiteboard or screen-sharing material students need to inspect. A representative excerpt is more useful than testing a scene with only a speaker against a blank background.
- Encode the sample at RF 22. Keep the resolution and frame rate you expect to use for the course so the test reflects the actual recording.
- Play it at the intended viewing size. Check whether small characters remain distinct and whether thin lines or handwriting disappear. Don't judge only from a zoomed-in editing preview.
- Adjust one step at a time. If text breaks up or strokes vanish, lower RF by one or two and test again. If the file is much larger without a visible improvement, raise RF.
- Keep the frame rate consistent. Preserve the source frame rate when possible. For a standard lecture, 30 fps is a practical target; 60 fps is usually unnecessary unless the lesson relies on rapid movement.
If captions are part of your recording, check their size on the actual playback screen too. This guide to choosing a closed-captioning font can help you consider legibility alongside compression. Once the test looks clear, write down the final RF value and use it consistently for the course so students don't have to adapt to a different visual quality in every recording.
Settings for Weak or Shared Connections
A lecturer may have a 10 Mbps upload connection while other people at home are streaming or attending calls. A 720p stream at about 3 Mbps leaves more room for them than a stream that uses nearly all the available capacity. Keep the video bitrate comfortably below the upload speed, especially on a shared connection. For tips to optimize your network for group calls, consider what else will be using the connection during class.
Keep access and study quality separate
If your recording setup allows multiple versions, keep a high-quality master for transcription and visual review, then make a smaller playback copy for students with unstable connections. The smaller copy is like a lighter backpack: easier to carry, but it still needs to hold what the learner will use. For a lecture, that means preserving slide text, handwriting, or steps in a demonstration.
For mostly static slides and a speaking instructor, lower-resolution playback may be a reasonable compromise. Rapid procedures, fine handwriting, or camera movement need more visual detail; too much compression can make those details break up. If the picture remains hard to follow, an audio file or transcript can provide another way to study, while original slides or pages can clarify exact visual details. A transcript captures spoken words, not every part of a diagram.
When Higher Quality Stops Helping Learning
A randomized study comparing higher- and lower-production-quality instructional videos found no effect of video quality on exam scores, homework performance, or student engagement, according to the study record at ERIC. That finding challenges the assumption that a more polished or higher-resolution video automatically teaches more effectively. The useful target is quality that preserves instructional information, not the maximum pixel count.
Decide what carries the lesson: slide text, handwriting on a board, a demonstration, or the instructor's speech. Then make sure that element survives the recording. A compressed video may obscure a diagram or equation, and a transcript won't capture every visual detail, so check the original slides or pages when precision matters for study or an exam.
Before each course begins, write down the visual element that must remain readable and confirm it in a test sample. If it isn't clear at the size students will use, adjust the recording before you capture the full lecture.
Confirm Your Settings Before the Next Lecture
Use this checklist before the first recording:
- Record a two-minute test in the actual room, using the actual device.
- Play it full screen and check the smallest slide text.
- Check the upload connection and compare the expected file size with your available storage.
- Confirm your institution's recording policy and obtain any instructor consent needed before uploading. Students are responsible for following those requirements.
- Save the source alongside your study materials. ClassLecture.ai accepts lecture files from Zoom, Panopto, phones, and common audio and video formats including MP3, MP4, MOV, and M4A. You can also save an optional YouTube, Zoom, or Google Drive link with a lecture to reopen the original while you study.
You can record video from a browser or upload an existing file, then use the resulting transcript and study tools to review the lecture. If you rely on a phone, this guide to customizing Android display and audio controls may help you adjust how you view and hear the recording. Save the settings you verified for the course, and rerun the test only if the room, device, or connection changes.
ClassLecture.ai turns lecture recordings into searchable transcripts, flashcards, study guides, and Q&A grounded in your own materials. Visit ClassLecture.ai to bring a recording into your study workflow and review it with its source alongside.
The ClassLecture.ai Team
We build ClassLecture.ai, the AI study assistant that turns your recorded lectures into transcripts, summaries, flashcards, and answers cited to the exact timestamp — so you learn faster from your own professor's words.
Keep reading
Audio File Formats Explained for Lecture Uploads
Learn the most common audio file formats for lectures, recordings, and uploads. Compare MP3, WAV, AAC, MP4, and more for quality and compatibility.
ReadHow to Record Zoom Call for Better Study
Learn how to record zoom call sessions for study. Master local vs cloud capture, audio settings, permissions, and turning lectures into AI study guides.
ReadHow to Reduce Background Noise on a Mic
Learn how to reduce background noise on a mic with practical room, hardware, and software fixes that work for recordings, calls, and lectures.
Read