How to Record Video from Browser Without Losing Audio
Learn how to record video from browser in Chrome or Edge, capture tab and mic audio, fix missing sound, and upload recordings safely.
You've got a lecture starting in ten minutes, no app installed, and a browser tab already open. You click record, watch the timer run for an hour, then open the file and hear nothing. The slides are there. The lecturer is moving their mouth. The audio track is empty.
That's the most common failure when you learn how to record video from browser tools, and it rarely means you pressed the wrong button. It means you picked a capture surface that your browser and operating system couldn't take audio from. Fix the audio source first, test it for twenty seconds, and the rest of the process gets simple.
Table of Contents
- Browser and Audio Sources That Actually Work
- How to Record Your Screen or Tab Step by Step
- Confirm Consent Before Recording
- Adding Your Voice to Tab Audio
- Check Format and Fix Broken or Silent Recordings
- Upload the Checked File to ClassLecture.ai
Browser and Audio Sources That Actually Work
Say you record a full Zoom lecture, the preview looks perfect, and you only discover the silence after class. Video capture is the easy part. Audio capture is conditional, and it changes by browser, operating system, and whether you share a tab, a window, or the whole screen.
You don't need to install anything to get started. Lectures can be recorded directly in a laptop or phone browser, with audio saved as you go, or uploaded later as audio or video files. The catch is that "works in the browser" describes several different capabilities, not one.
| Browser and OS | Tab audio | Whole-system audio | Recommended capture |
|---|---|---|---|
| Chrome or Edge on Windows | Yes | Yes | Share entire screen with audio on, or a tab |
| Chrome or Edge on ChromeOS | Yes | Yes | Share entire screen with audio on |
| Chrome or Edge on macOS | Yes | Restricted, usually tab only | Share the source tab |
| Chrome or Edge on Linux | Yes | Restricted, usually tab only | Share the source tab |
| Firefox on any OS | No | Generally not exposed | Record microphone or switch to Chrome or Edge |
| Safari on any OS | No | Generally not exposed | Record microphone or switch to Chrome or Edge |
Why the Rows Differ
Technical guidance on the browser screen recording permission flow notes that Chrome and Edge support audio capture, while Firefox and Safari generally don't expose equivalent system audio capture. Even in Chrome and Edge, whole-system audio is typically available on Windows and ChromeOS, while macOS and Linux are more restricted, often to audio from the selected tab.
That distinction explains the silent file. If you share your entire macOS screen, you may get clean video and no lecturer. If a classmate on Windows shares their entire screen in the same tool, they may get everything. The website didn't change. The operating system did.
Decision rule: Use Chrome or Edge. On Windows or ChromeOS you can share the screen, and on macOS or Linux you should share the source tab.
You can tell which case applies in five seconds. Open the share chooser and look for a share audio toggle after you select a tab. If it appears for the tab but not for the entire screen, record the tab. If it never appears, switch browsers before class starts.
How to Record Your Screen or Tab Step by Step
The model is one sentence. The browser asks you to pick a source, then records whatever you share. Underneath, the W3C Media Capture and Streams specification defines the permission based interfaces that return a stream from devices such as webcams and microphones, and the same model extends to screen or tab capture with the user choosing what surface to share.
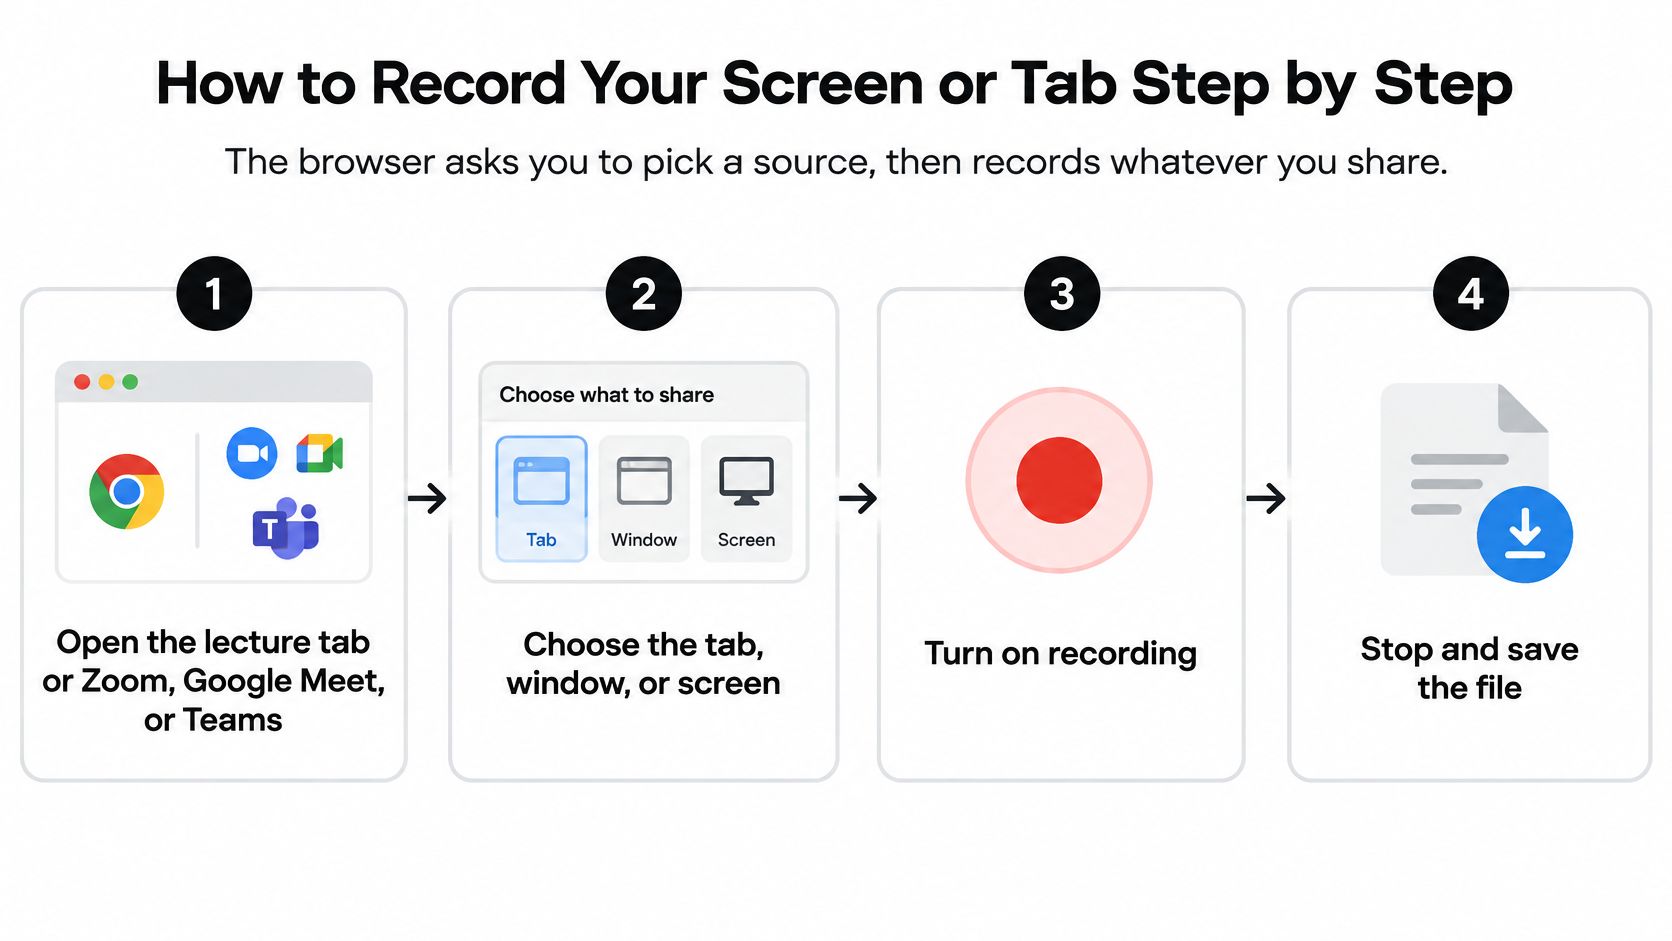
Step 0. Confirm consent first. Run the go or no-go check in the next section before you click anything. If the answer is no-go, stop here, because a browser permission prompt isn't permission from the people in the class.
- Open the source first. Open the lecture tab or the Zoom, Google Meet, or Teams window before you click Record. The chooser shows what's open at that moment, and hunting for a window mid-prompt is how people share the wrong thing.
- Click Record and choose the surface. Select the browser tab, or choose entire screen on Windows or ChromeOS. On desktop Chrome or Edge, you can choose a Zoom, Google Meet, or Microsoft Teams class source and save its audio without adding a meeting participant.
- Tick share audio. This option appears in the chooser on Chrome and Edge, and it's easy to miss because it sits low in the dialog. If you skip it, you'll record a silent video and there's no way to recover the sound later.
- Check the preview. Confirm it shows the lecture, not the recorder page itself. If you see your own preview repeating into smaller copies, you've created a hall-of-mirrors effect by capturing the window that's displaying the capture.
- Turn on your microphone only if you need it. Enable it if you'll narrate or ask questions aloud. Leave it off for a straight lecture capture, since an open mic adds room noise and anything said near you.
- Record and keep the tab in focus. Background tabs can be throttled or suspended, and switching away to scroll something else risks a gap. Steps 3 and 5 get a proper rehearsal in the audio preflight below, so run that check before the session.
- Stop from the recorder page. Use the stop control on the page, not the browser's stop-sharing bar, so the file finalizes cleanly. Killing the share first can leave you with a truncated file.
Camera Only Recording
If you want yourself on video rather than your screen, choose the camera option instead. It uses camera and microphone permission rather than the share chooser, so there's no tab to pick and no audio toggle to hunt for. If you need a refresher on that route, this walkthrough on how to capture a Chrome tab or webcam covers the Chrome specific prompts.
You're recording correctly when the preview shows the lecture, the timer is running, and the share indicator names the tab you intended. If any one of those is wrong, stop and reshare. Losing thirty seconds now beats losing the session.
Confirm Consent Before Recording
Make this decision before any browser prompt appears. A live class recording can capture classmates' voices, faces, questions, chat messages, and names even when you only want the lecturer. University guidance on FERPA and class recordings warns that recordings containing identifiable student voices, faces, questions, or presentations may be protected educational records under FERPA, and sharing them outside the original class can require written consent or de-identification. Recording rules also differ across states and countries, and you're responsible for following your institution's policy and getting any necessary instructor consent before uploading.
Minimize exposure with five moves.
- Record the presentation tab only, not the full meeting window.
- Turn off participant video where the platform allows it.
- Close chat, email, and notifications so private messages stay out.
- Tell participants the session is being recorded and why.
- Store the file in an access-controlled folder.
Go means personal review within the same class, with everyone notified. No-go means publishing or sharing beyond the class without written consent or de-identification. Audience, purpose, and identifiability decide it, and the same care applies when you record a meeting outside a formal class.
Adding Your Voice to Tab Audio
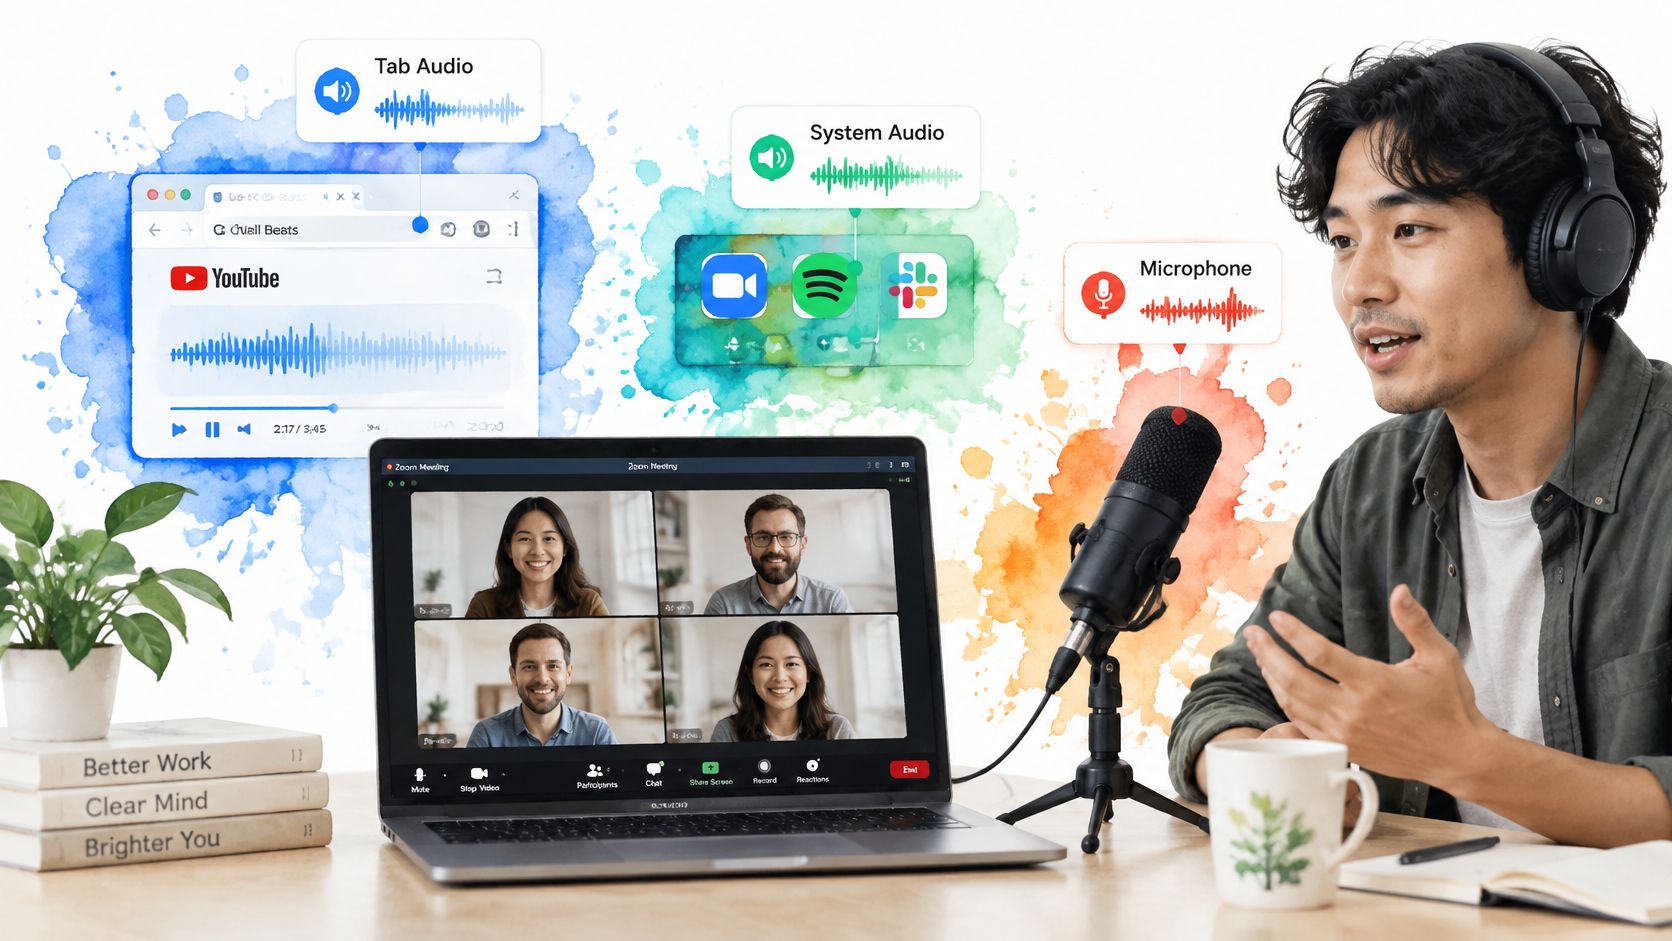
These are two separate sources, and mixing them up causes most confusion. Tab or system audio captures what the computer plays, so the lecturer, a video clip, and meeting sound. Microphone audio captures what's in your room, so your voice, your keyboard, and anyone nearby. A recorder can take either one alone or mix both, and each has its own permission and its own failure mode.
You need both when you're part of the session rather than just watching it. Recording a Zoom class while you ask questions is the obvious case. Narrating your own slide deck for a group project is the other one, where the tab gives you the deck and the mic gives you the explanation.
Run This Preflight Before Class
Test each source on its own, because a combined test can hide which one is missing.
- Play the source tab: Play a 20-second video in the tab you'll share, record it, and confirm you can hear it back with your mic muted.
- Check your mic level: Speak at normal volume and watch the level move in the preview. Silence here usually means the wrong input device is selected.
- Toggle your headphones: Plug them in, record again, then unplug and repeat. Switching output devices can reroute what's captured.
- Test Bluetooth separately: A Bluetooth headset can change the input device mid-session when it connects or drops, so rehearse with the exact headset you'll wear.
- Cancel once on purpose: Dismiss the permission prompt and confirm the recorder shows a clear stopped state instead of spinning.
A test that passes on your laptop proves nothing about your tablet, a lab machine, or a borrowed laptop. Retest on the device you'll actually use.
Use wired headphones where you can. Without them, the lecturer's voice comes out of your speakers, goes back into your microphone, and lands in the file twice as echo. If the room itself is noisy, work through these steps to reduce background noise on your mic before you blame the recorder. For the sending side of the same problem, AONMeetings explains how to share computer audio in meetings so other participants hear your tab clearly.
A good test has both voices audible, no clipping on loud syllables, and no echo of the lecturer trailing behind your own words. If you hear only yourself, the tab audio toggle is off. If you hear only the lecturer, your mic isn't in the mix.
Check Format and Fix Broken or Silent Recordings
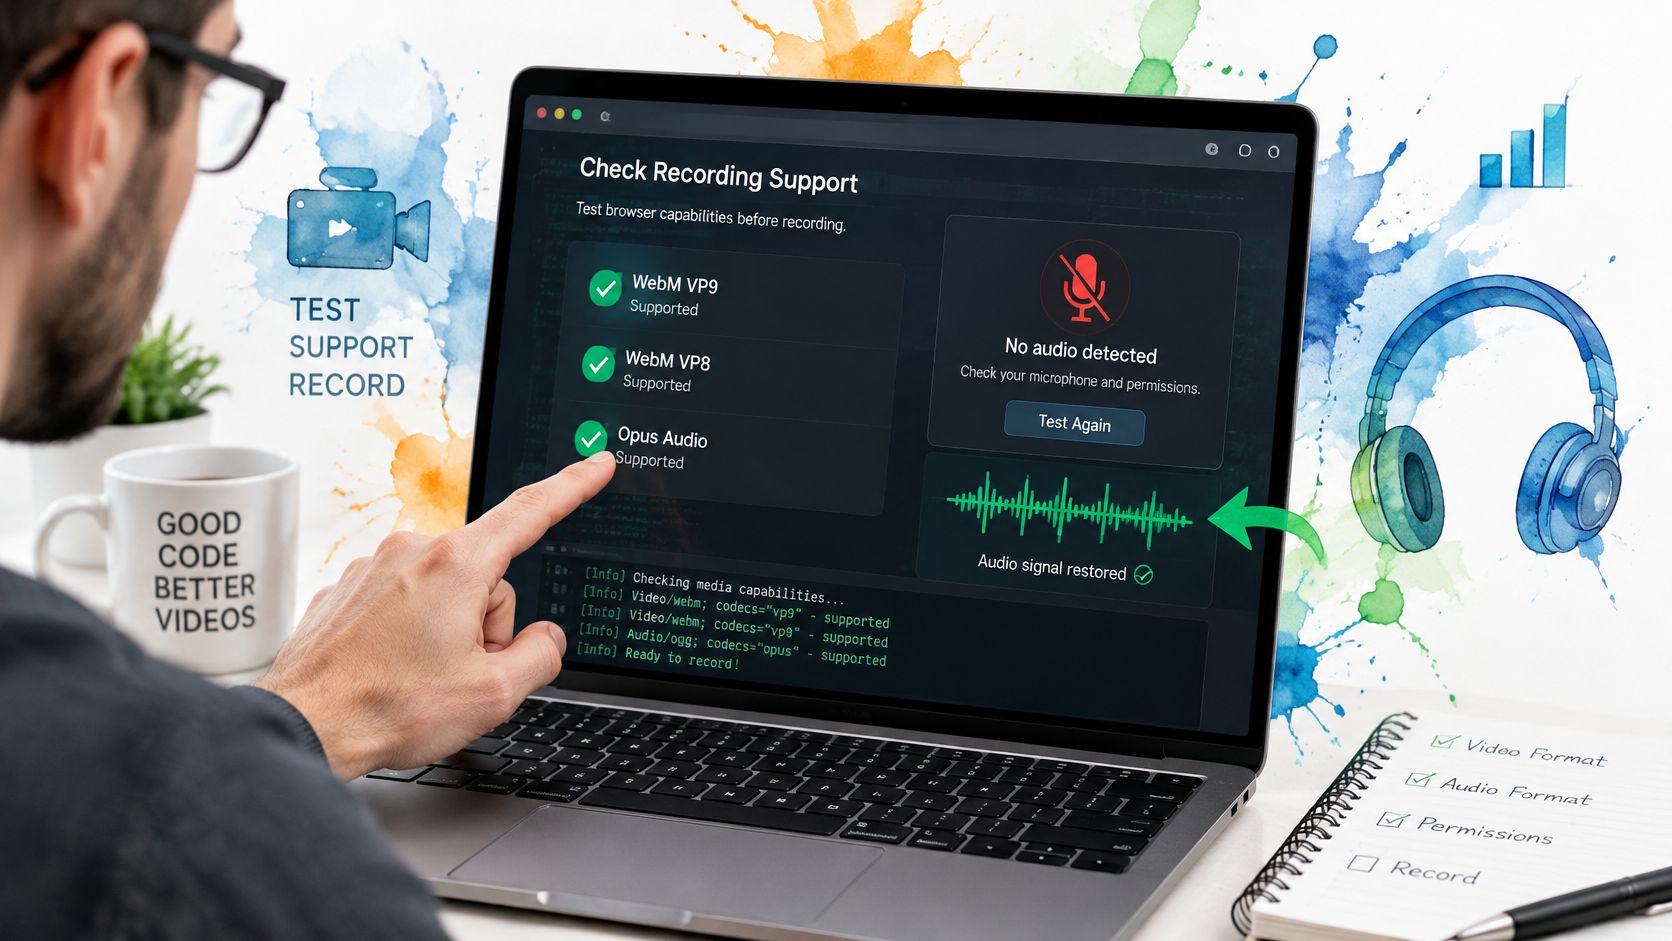
Start with what the browser gave you, not what you asked for. MDN's documentation on supported media constraints supports configuring recording from the measured capture settings rather than assuming requested values were honored. In practice that means reading videoTrack.getSettings() for width, height, frame rate, and display surface, then choosing a supported type with MediaRecorder.isTypeSupported(), commonly testing WebM/VP9 or WebM/VP8 with Opus before falling back to another browser supported option.
Three Checks Before a Long Lecture
Record in short timeslices of 1 to 5 seconds rather than waiting for one enormous final file. That reduces memory pressure, allows progress reporting or incremental upload, and means a frozen tab costs you seconds instead of the whole lecture.
Then run a genuine test, not a five second wave at the camera.
- Record for 10 minutes: Use a recorded lecture or a long video in the source tab, with the same headphones and browser you'll use in class.
- Compare duration to the clock: If you recorded 10 minutes and the file says 6, the tab was throttled or suspended partway through.
- Scrub to the middle and end: Confirm the speaker is audible in both places, since audio that starts fine can drop when a device reconnects.
- Reopen the file in a player: Validating the final file before upload catches a recording that never finalized.
Format matters once the file leaves your laptop, because a WebM that plays in Chrome may not be what your course platform accepts. MEDIAL's guide helps you choose video formats for LMS uploads before you convert anything. Files from Zoom, Panopto, and phones in MP3, MP4, MOV, and M4A formats can be used for study, and we automatically convert video files to audio-only format. If you're unsure which container you ended up with, this overview of audio file formats explains what each one is good for.
Symptom Lookup
| Symptom | Likely cause | Fix |
|---|---|---|
| No speaker audio on macOS or Linux | Whole-system audio is restricted to the tab | Share the source tab with audio on |
| Microphone silent | Wrong input device selected or muted | Pick the correct microphone and check the level before recording |
| Video with no sound | Audio sharing box was unticked | Stop, reshare the tab, and tick the audio option |
| Recording stops suddenly | Stop-sharing bar was clicked or the tab was suspended | Keep the tab in focus and stop from the page to save the file |
| Blank or mirrored preview | The recorder's own window was captured | Share the lecture tab instead of the recorder |
| File will not play | Session ended before the file finalized | Reopen in a video player, then rerecord with a short test first |
Four of these are one-minute fixes you can apply and continue. Resharing the tab, ticking the audio box, picking the right mic, and choosing a different surface all take seconds if you catch them in the preview. Two need a new recording. A file that won't play has no recoverable audio track, and a session that stopped has a gap you'll never fill.
One rule covers most cases: On macOS or Linux, share the source tab. That's the fix for the majority of missing audio complaints.
Browsers also require fresh selection and consent on each capture request, so there's no setting that records in the background next time. Expect the chooser every session, budget a minute for it, and always run a second short test before a long lecture. I would rather lose two minutes to a test than explain a missing recording afterward.
Upload the Checked File to ClassLecture.ai
Upload only after two things are true. The file reopens and plays with sound, and your consent decision was go. If either one fails, fix that first instead of uploading and hoping.
Sign up and upload your first lecture in about 60 seconds, then work through these steps.
- Open the file from the upload page and confirm the title matches the course and date, so you can find it weeks later.
- Upload and wait for the transcript. Each lecture becomes a searchable transcript with timestamps, and you can play the original audio and jump to the exact moment you want to review.
- Search a term from the lecture and jump to its timestamp to confirm it lands on the right moment.
- Delete any clip containing private chat, participant video, or names you didn't clear.
Keep the original in your secure folder under your institution's retention rules. Use the transcript only for the purpose you confirmed earlier.
Record your next lecture in the browser, check that the tab audio came through, then upload it to ClassLecture.ai to get a searchable, timestamped transcript you can ask questions about instead of rewatching the whole session.
The ClassLecture.ai Team
We build ClassLecture.ai, the AI study assistant that turns your recorded lectures into transcripts, summaries, flashcards, and answers cited to the exact timestamp — so you learn faster from your own professor's words.
Keep reading
How to Record Meeting and Transcribe Without an Account
Learn how to record meeting and transcribe sessions in your browser. Step-by-step guide covering audio quality, privacy, and turning transcripts into searchable
ReadHow to Record a Google Meet Call: Guide for Students
Learn how to record a Google Meet call with our step-by-step guide for students. Get tips on saving, sharing, and accessing your recordings in 2026.
ReadHow to Save YouTube Videos as Audio Files Legally
Learn how to save YouTube videos as audio files you are allowed to keep, choose MP3 or M4A, and import them for study.
Read