How to Record a Meeting for Better Study Notes
Learn how to record a meeting with clear audio, handle consent, and turn live sessions into interactive study guides and flashcards using ClassLecture.ai.
You're halfway through a fast seminar when the instructor introduces the concept that ties the entire topic together. You write a few words, miss the next explanation, and later discover that your notes contain a conclusion without the reasoning behind it. A recording can prevent that gap, but only if you capture it legally, record clear audio, and turn the file into something you can actively study.
Learning how to record a meeting effectively isn't just a technical exercise. The useful workflow begins before the meeting, with consent and a reliable audio test, then continues through transcription, source checking, flashcards, and spaced review. A raw video file is an archive. A searchable, well-organized recording can become a personal tutor.
Table of Contents
- Navigating Consent and Legal Requirements Before You Record
- Optimizing Audio Quality for Accurate Transcription
- Capturing Live Sessions Directly in Your Browser
- Bringing Existing Recordings and External Links into Your Workspace
- Transforming Raw Audio into Interactive Study Materials
- Building a Sustainable Meeting Review Workflow
Navigating Consent and Legal Requirements Before You Record
You may want to record because a guest lecturer is moving quickly or because a study group is covering material you'll need later. Before opening a recorder, establish whether everyone knows about the recording and whether everyone has agreed to it. A recording that captures excellent content can still create a serious problem if the participants weren't properly informed.
U.S. law doesn't use one single nationwide recording rule. Federal wiretap law follows a one-party-consent baseline, while many states impose stricter all-party-consent requirements. Independent guidance cited in 2026 described 38 U.S. states as one-party-consent states and identified California, Florida, Illinois, Pennsylvania, and Washington among the all-party-consent states. In those stricter jurisdictions, every participant must agree before recording begins. See this meeting recording policy guidance on consent rules before applying a workflow to a class, client call, or study group.
Remote meetings make the issue harder because participants may join from different states or countries. The safest operational approach is to use a clear notice and follow the strictest applicable rule when the jurisdiction is uncertain.
Turn consent into a repeatable routine
Use a short script at the beginning rather than burying the notice in a calendar invitation:
Practical rule: Tell participants what you're recording, why you're recording it, and how they'll be able to object before the session starts.
For a study group, you might say that you'd like to record the discussion so you can review the explanations afterward, then ask each participant to confirm. For a recurring class or coaching session, include the notice in the invitation and repeat it live, especially when guests or late joiners appear.
A practical checklist looks like this:
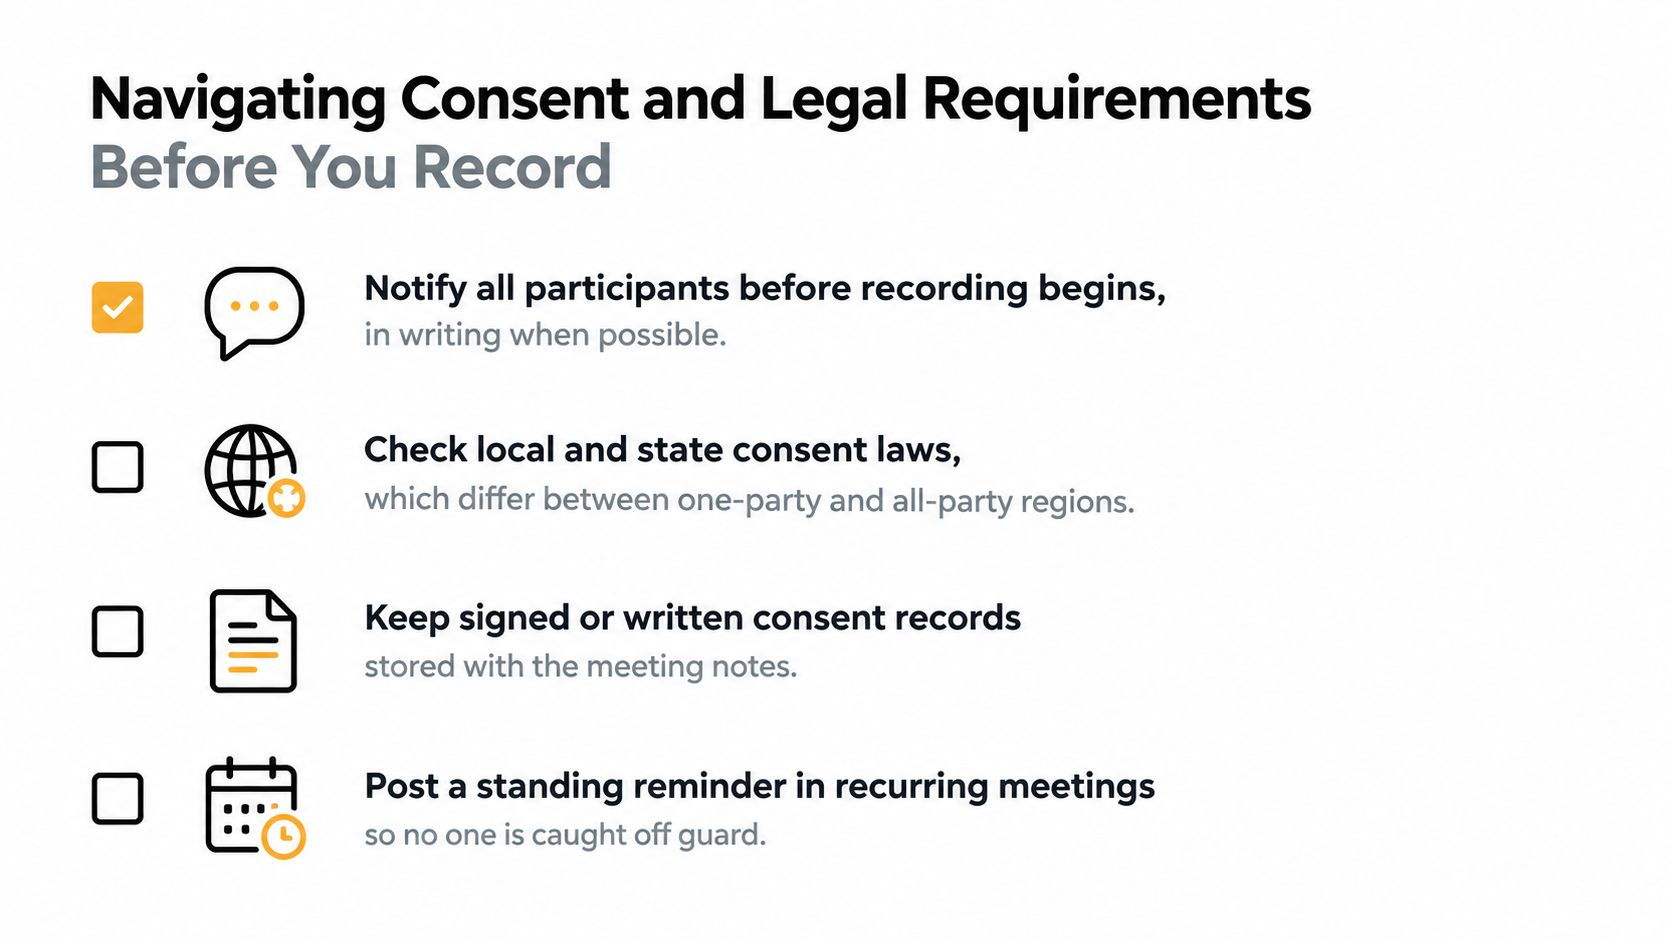
- Notify everyone early: Give written notice when possible, then repeat the notice at the start.
- Ask for affirmative agreement: In mixed or stricter jurisdictions, don't rely on silence or continued attendance.
- Record late joiners separately: Tell anyone who enters after the recording has begun that the session is being captured.
- Store the evidence: Keep written approval, a consent response, or a note in the transcript header with the meeting record.
- Offer an alternative: If someone objects, pause the recording, exclude their contribution where feasible, or provide another way to participate.
Microsoft Teams documents explicit recording and transcription consent controls that organizers can enforce before a meeting starts. That platform behavior reflects a broader shift from passive disclosure toward documented, active permission, and Microsoft's meeting recording documentation explains how those controls fit into meeting policy. Consent should be part of your recording workflow, not a disclaimer added after the file already exists.
Optimizing Audio Quality for Accurate Transcription
A transcript can only work with the speech that reaches the recorder. AI may resolve some unclear phrases through context, but it can't reliably reconstruct every word when several speakers talk over one another, a laptop microphone sits far from the speaker, or room noise masks important terms.
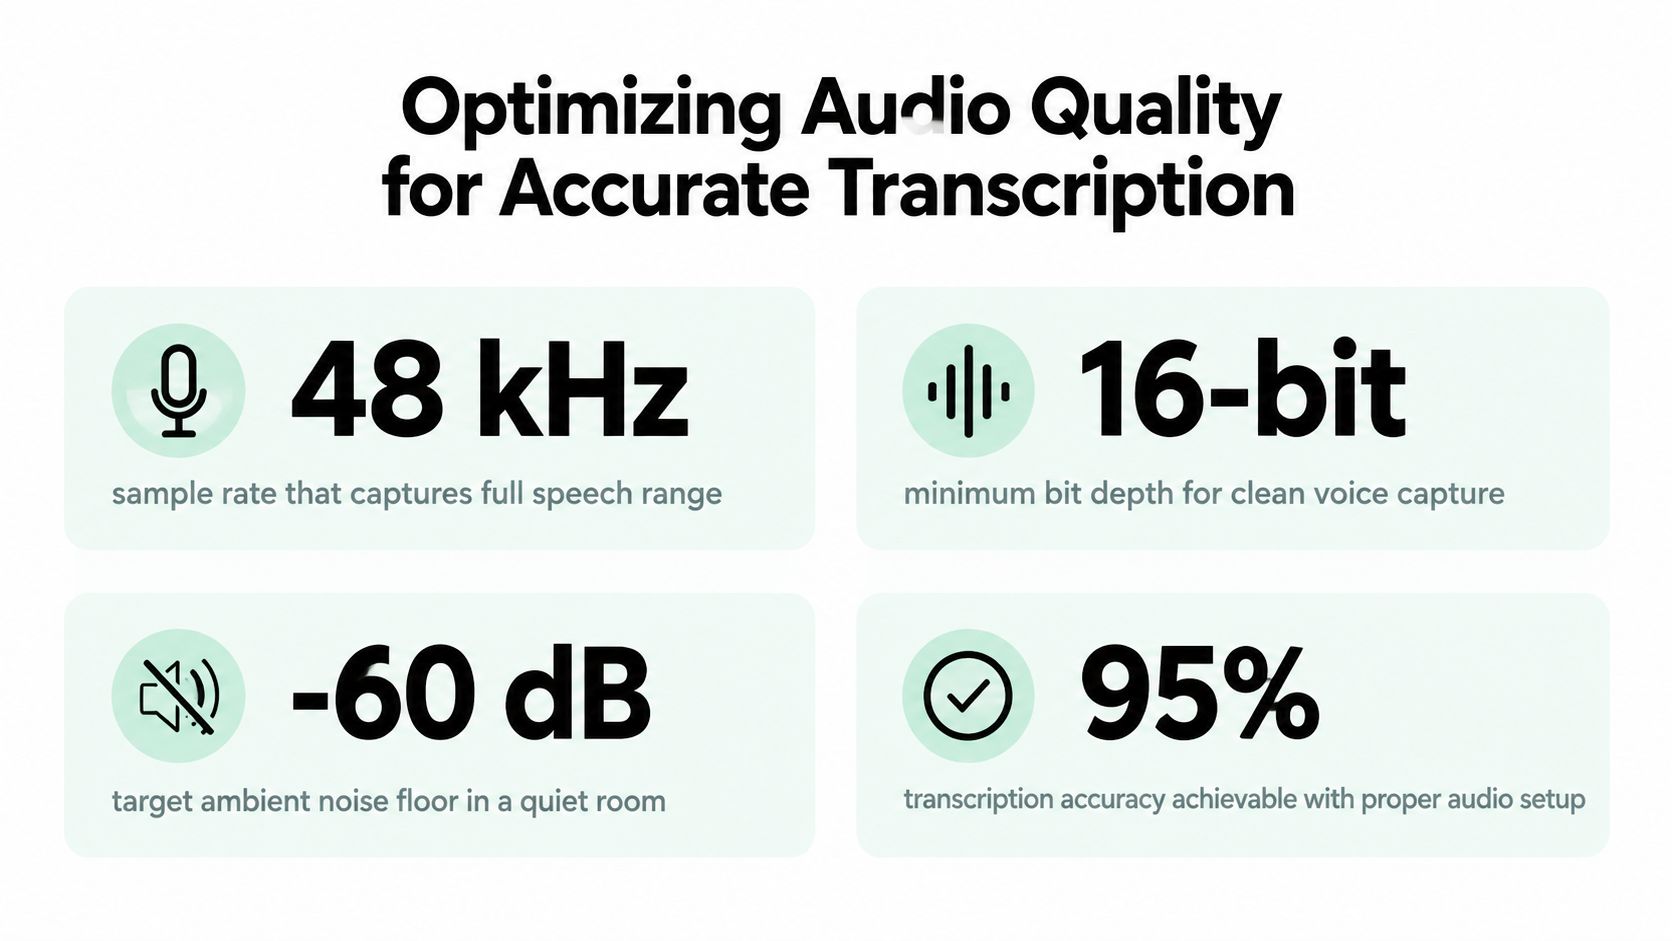
Published transcription guidance reports that clear recordings can reach about 95% to 98% accuracy, while noisy environments can reduce performance by 30% to 40%. The same guidance places built-in laptop microphones around 70% to 80% accuracy and quality USB microphones around 90% to 95%, while each 10 dB increase in ambient noise may reduce accuracy by 8% to 12%. It also cites a classic comparison of human transcription at 99.6% accuracy versus automated transcription at 93.6%, reinforcing the point that recording conditions still matter. These figures appear in this guide to meeting transcription accuracy.
Fix the input before choosing an AI tool
Start with speaker distance. A headset or dedicated USB microphone usually produces a cleaner signal than a laptop microphone placed across a desk. If you're recording a small in-person group, put the microphone where voices are directed toward it, not beside a noisy keyboard, fan, or open window.
Room treatment also helps. Soft furnishings reduce echo, while closed doors and muted notifications remove competing sounds. During an online meeting, ask non-speakers to mute themselves, and avoid placing your microphone directly beside the speakers that play remote audio.
The best setup is the one you test before the live session:
- Join the meeting early.
- Record a short sample with your microphone enabled.
- Ask another participant to speak.
- Play the sample back through headphones.
- Confirm that you can hear both your own voice and the remote speaker.
If you're deciding whether a dedicated microphone is worthwhile, this lecture recording microphone guide can help you think through placement and equipment. Don't buy hardware to compensate for a workflow that hasn't been tested. A modest microphone in a quiet room will often outperform expensive equipment used too far from the speaker.
Capturing Live Sessions Directly in Your Browser
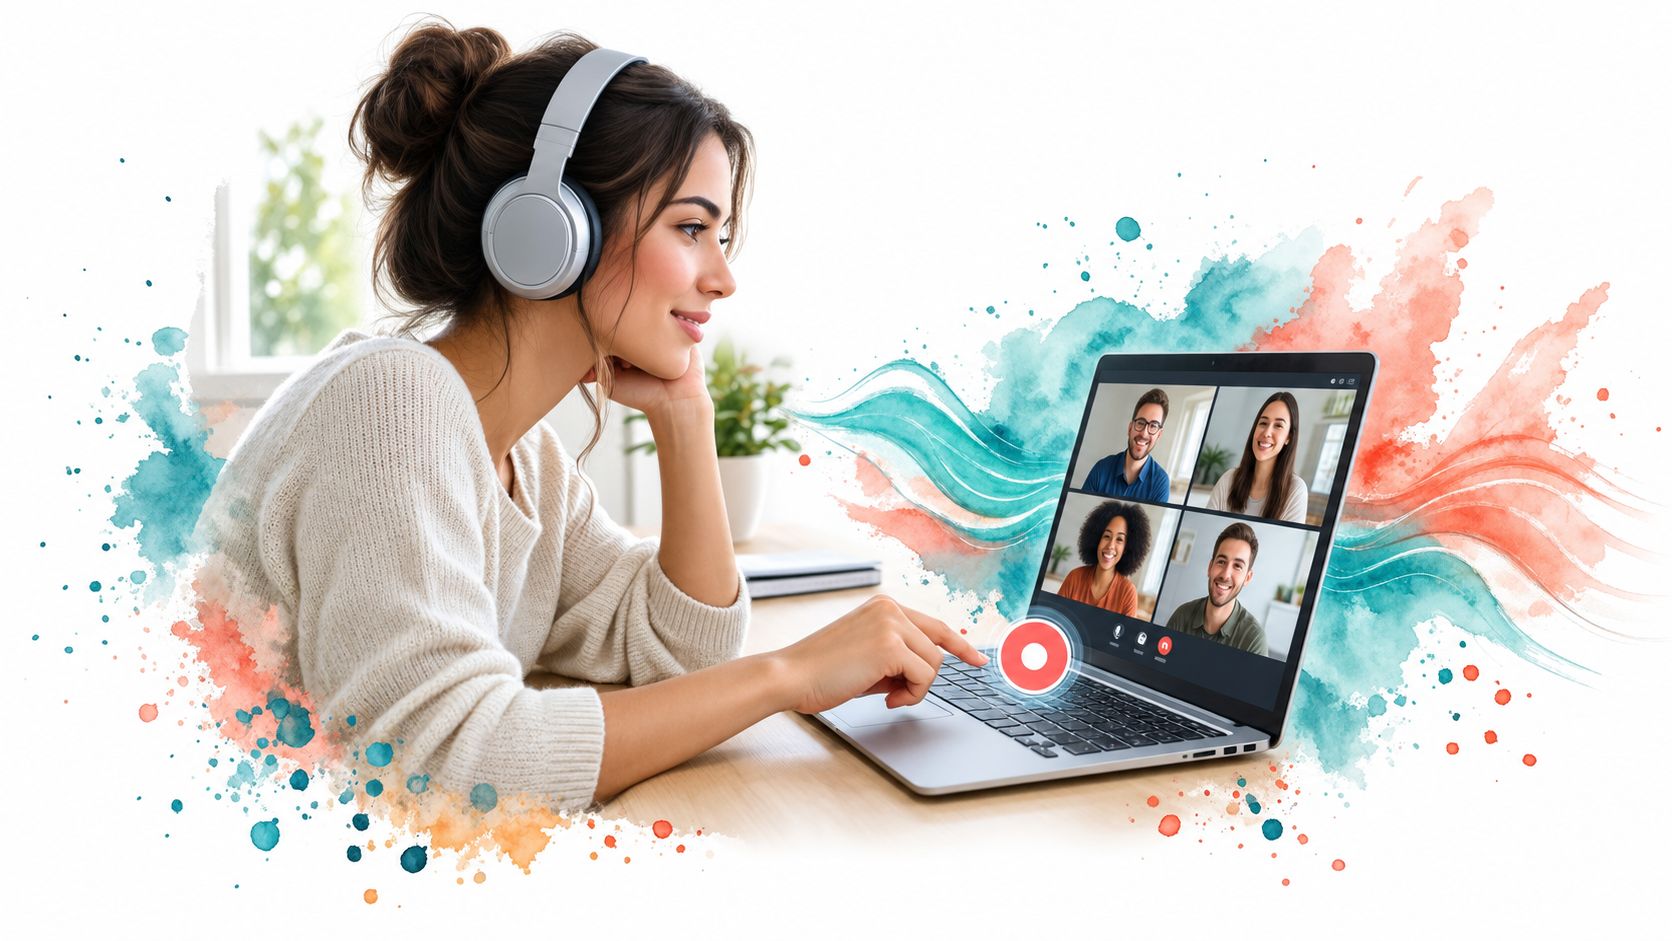
Browser recording removes much of the friction from a quick Zoom study session or Google Meet review. You can open the meeting in Chrome or Edge, share the meeting tab or screen, and capture the audio without installing a full desktop recorder. The important distinction is whether the recorder captures the meeting audio or only the sound entering your local microphone.
Use tab audio for browser meetings
For a browser-based setup, follow this sequence:
- Open the meeting in Chrome or Edge: Keep the call in a normal browser tab rather than switching between multiple capture windows.
- Choose the capture area: Select the meeting tab for a focused recording, or the entire screen if the session uses more than one window.
- Enable audio sharing: Turn on “share tab audio” or the equivalent system-audio option.
- Add your microphone only when needed: Include it if you need your own questions or commentary in the transcript.
- Run a short test: Confirm that playback includes both sides of the conversation before the session begins.
A browser-based meeting recording workflow recommends a 30-second test to verify microphone and remote-participant capture. That test catches the most common failure: the recorder hears your microphone but not the instructor, guest, or study partner speaking through the browser.
The failure mode to avoid: A recording indicator can be active while the useful conversation is absent. Always test the playback, not just the button.
Dedicated meeting software may offer more controls, while browser capture is convenient when you need to start quickly or work on a device where installing software isn't practical. A browser workflow can also reduce the need to route call audio through room speakers, which helps preserve clarity.
For a more detailed comparison of capture options, see this meeting recording software overview. Regardless of the tool, keep the meeting tab active during the test and close unrelated tabs that might expose private material or consume system resources.
Bringing Existing Recordings and External Links into Your Workspace
Many useful sessions already exist as files. A professor may have shared a lecture recording, a classmate may have sent an audio file, or you may have recordings scattered across a laptop, phone, cloud drive, and course platform. The goal isn't to collect everything indiscriminately. The goal is to bring relevant materials into one searchable study system with clear labels and source boundaries.
Local uploads work well when you control the files. Audio formats such as MP3, M4A, and WAV are convenient when you need speech without video, while MP4, MOV, and WEBM preserve the visual context of a lecture or meeting. Uploading a file gives you a stable copy to process and organize, but you should name it before importing it. Use a pattern such as CourseCode_Topic_Date so you can identify the source without opening it.
External links make more sense when the original material is already hosted somewhere. A YouTube lecture, Panopto recording, Zoom share, Google Drive file, or similar resource can remain in its original location while you attach its URL for reference. This avoids duplicate downloads, but access permissions can change, links can expire, and a private resource may not process unless the workspace can reach it.
Choose the source based on the study task
| Situation | More practical choice | Main trade-off |
|---|---|---|
| You need to process several files together | Bulk upload local media | Requires consistent naming and storage |
| The lecture is already hosted by your school | External link | Depends on continuing access |
| You need to study without reliable internet | Local file | Uses device or workspace storage |
| You want the original video available for visual review | Video file or stable hosted link | Larger media requires more management |
| You're preparing for a specific exam topic | Upload or link only the relevant sources | Reduces distracting material |
Prioritize the recordings tied to your next review session rather than importing an entire archive at once. Keep textbooks, notes, and lecture media associated with the same course or topic, then distinguish the source when asking questions. That separation helps you tell whether an answer came from the instructor's explanation, your textbook, or your own notes.
Transforming Raw Audio into Interactive Study Materials
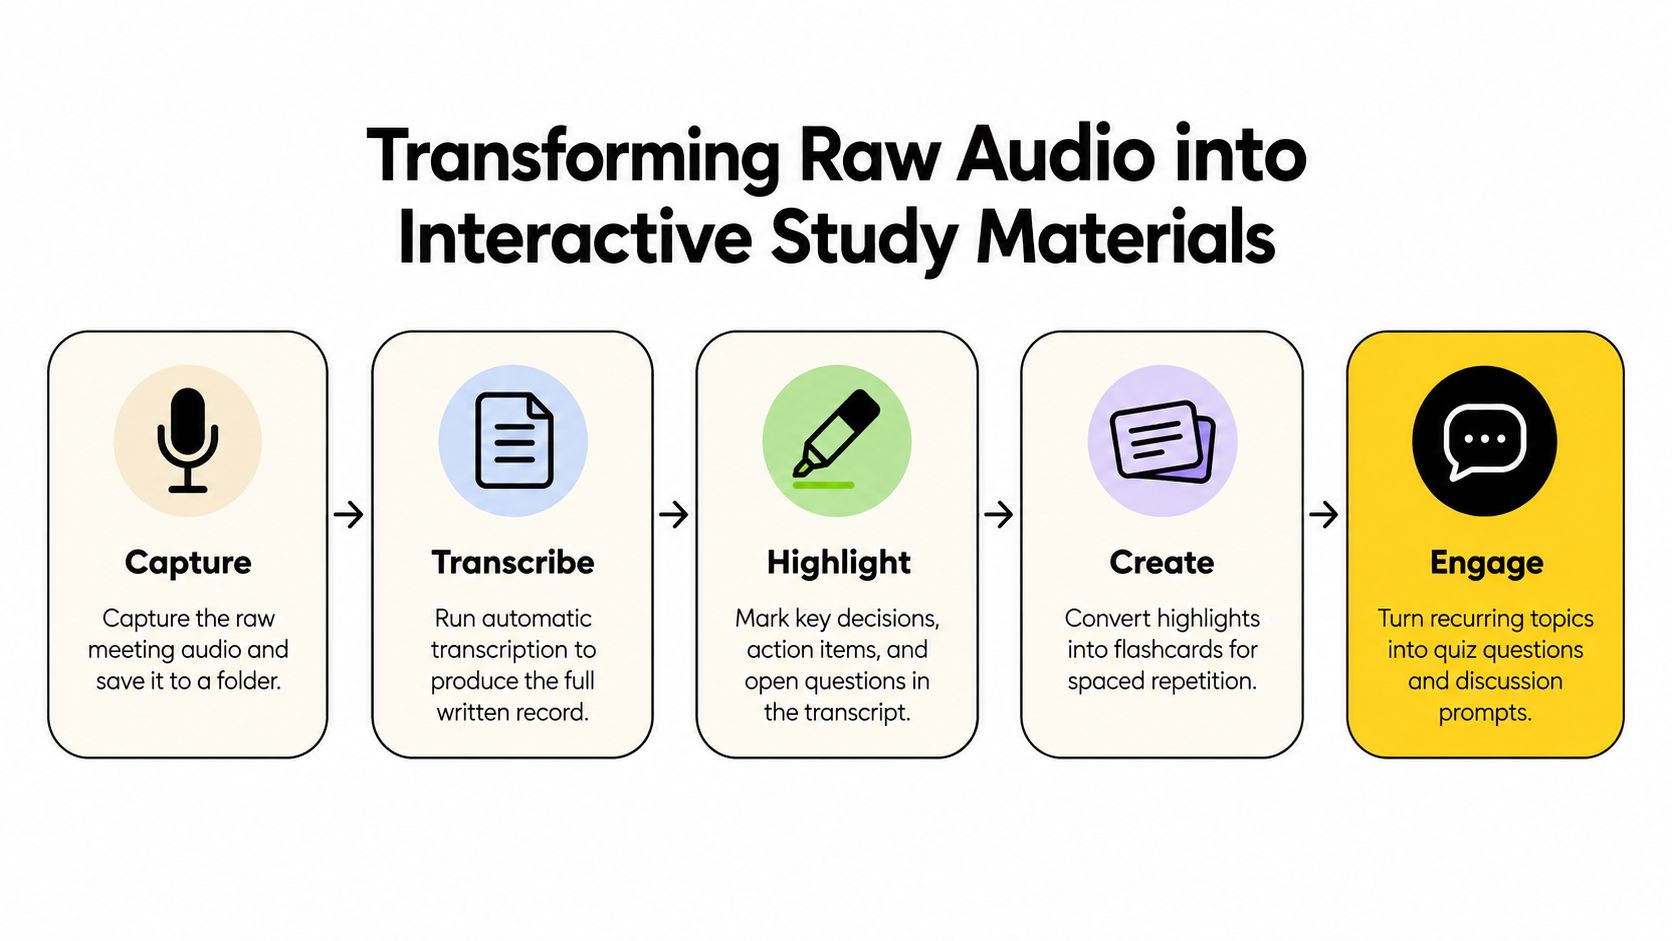
Recording is the collection stage, not the learning stage. A long audio file may preserve every sentence, but passive replay makes it easy to postpone review. The stronger workflow converts the recording into several forms, each designed for a different cognitive task: a transcript for search, a study guide for structure, questions for retrieval, and flashcards for repeated practice.
Build from the transcript, not from memory
Begin by reviewing the transcript for speaker errors, technical terms, and missing context. Mark decisions, definitions, examples, unresolved questions, and any point where the lecturer changes direction. These markers become the raw material for targeted study prompts.
A useful AI request is narrow and source-specific:
- “Summarize the explanation of renal filtration from the lecture transcript.”
- “Create questions only from the uploaded seminar transcript.”
- “Compare the instructor's definition with the textbook notes.”
- “Make flashcards from the terms I marked as uncertain.”
- “List the open questions and include the relevant timestamps.”
A source-scope selector is valuable here. Asking an AI assistant to use only the transcript produces a different result from asking it to combine the transcript with textbook notes. The combined mode can help with comparison, but it can also blur the distinction between what the lecturer said and what another source adds.
Study rule: Treat every generated answer as a prompt for verification. Follow the timestamp or page reference back to the original material before adding the idea to your final notes.
Timestamped citations make that verification practical. If an explanation seems too broad, return to the recording. If a flashcard uses a term incorrectly, correct the card rather than memorizing the error. You can find more ideas for converting speech into usable text in this guide to making transcripts.
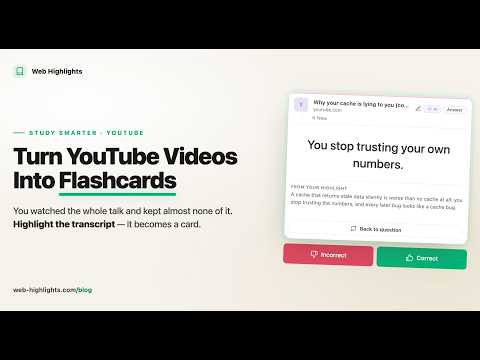
Place the video after the initial workflow so you can see how recording fits into the larger study process.
Match each output to a review behavior
A study guide is useful before a broad review because it gives you a map of the topic. Conversational Q&A works better when you have a specific confusion to resolve. Flashcards support recall of definitions, processes, and distinctions, while quiz questions reveal whether you can produce an answer without looking at the transcript.
Don't create every output automatically for every recording. Use the lecture's purpose to decide what to generate. A nursing lecture may benefit from definition and process cards. A construction safety discussion may call for scenario questions and action-item extraction. A graduate seminar may be better served by a comparison guide and a list of unresolved arguments.
Building a Sustainable Meeting Review Workflow
A recording system fails when it becomes a storage system. Students often collect hours of audio, generate summaries, and then lose the material inside unnamed folders. Sustainable review requires a small number of decisions made consistently: where the file belongs, what it becomes, and when you'll return to it.
Organize recordings by course code, topic, and date. Put the transcript, summary, flashcards, and related notes under the same course or class area. Use a title that answers the retrieval question you'll ask later, such as “Which session explained pulmonary gas exchange?” rather than a generic label like “Lecture recording.”
Give every recording a next action
After processing a meeting, assign it one of these outcomes:
- Review now: Read the summary, inspect uncertain transcript passages, and answer the generated questions.
- Convert to recall practice: Turn important concepts into flashcards and remove cards that test trivial details.
- Schedule for later: Add difficult material to a spaced review queue instead of rereading it immediately.
- Archive selectively: Keep the source when it may support later work, but don't retain redundant copies without a reason.
- Export for offline use: Save a Q&A session or study guide when you need to review away from the workspace.
A course-level review view can help you see which flashcards are due across several lectures, rather than treating each recording as an isolated project. The point isn't to process every minute equally. It's to identify what deserves repeated retrieval and what can remain available as a reference.
Consent and retention belong in the same workflow. Keep the permission record with the meeting notes, restrict sharing to people who need access, and remove recordings when the purpose for keeping them has ended. A clear policy protects participants and prevents your study environment from becoming an unmanageable archive.
Use the recording as the beginning of a review cycle: capture, transcribe, verify, question, recall, and revisit. That sequence turns a missed explanation into a searchable source and then into knowledge you can retrieve under exam pressure.
ClassLecture.ai lets you record or upload lectures and meetings, generate searchable transcripts and study guides, ask timestamp-cited questions, and turn important material into flashcards for spaced review. Visit ClassLecture.ai to bring your next recorded session into a structured study workflow instead of leaving it as an unused audio file.
The ClassLecture.ai Team
We build ClassLecture.ai, the AI study assistant that turns your recorded lectures into transcripts, summaries, flashcards, and answers cited to the exact timestamp — so you learn faster from your own professor's words.
Keep reading
7 Meeting Recording Software Options Compared
Compare 7 meeting recording software options for students, educators, and teams, including features, limits, pricing, capture methods, and best-fit use cases.
ReadHow to Write a Summary of a Meeting
Learn how to write an accurate summary of a meeting using transcripts and AI. Discover capture, editing, and automation tips with ClassLecture.ai.
Read10 Software for Recording Lectures in 2026
Compare 10 software for recording lectures, from OBS and Otter.ai to ClassLecture.ai, with use cases, limitations, and study workflow tips.
Read