How to Record Zoom Call for Better Study
Learn how to record zoom call sessions for study. Master local vs cloud capture, audio settings, permissions, and turning lectures into AI study guides.
You've just finished a Zoom lecture, and the recording is sitting somewhere between a large video file, a noisy transcript, and a future study session you may never start. Rewatching the whole class isn't a study strategy. A useful workflow captures the right material, preserves clear audio, respects recording permissions, and turns the result into searchable questions, summaries, and recall practice.
The recording is raw study material, not the finished product. Choose the storage path before the lecture begins, configure audio for transcription, confirm that you're allowed to record, and archive the result before a retention policy removes it.
Table of Contents
- Choosing Between Local and Cloud Recording
- Optimizing Audio and Video Settings Before the Call
- Navigating Host and Participant Recording Permissions
- Handling Privacy and Consent Requirements
- Turning Zoom Recordings Into Interactive Study Materials
- Managing Storage Limits and Retention Policies
Choosing Between Local and Cloud Recording
The first decision in how to record a Zoom call is where the recording will live. Local recording saves directly to the host's computer. Cloud recording sends the video, audio, and chat text to Zoom's servers, where the host can later access them through the web portal. Zoom documents both workflows in its guide to starting and managing cloud recordings.
For study, neither option is automatically superior. Local recording gives you a file immediately after Zoom finishes processing it, which is useful if you want to upload the audio or video into a study tool. It also avoids dependence on a cloud retention policy. The trade-off is responsibility: you need sufficient disk space, a reliable desktop setup, and a backup routine.
Cloud recording works better when the lecture must be available across devices or shared with classmates. It centralizes access and keeps the files away from a single laptop, but the recording remains subject to account permissions, storage limits, and institutional retention rules. Cloud recording is also limited to paid Zoom accounts, while local recording is available on free and paid accounts, according to Zoom's recording options documentation.
| Feature | Local Recording | Cloud Recording |
|---|---|---|
| Storage location | Host's computer | Zoom's servers |
| Account availability | Free and paid accounts | Paid accounts |
| Best fit | Personal archive and direct file processing | Centralized access and sharing |
| Main risk | Insufficient local storage or device failure | Retention policy or cloud storage limits |
| Study workflow | Upload the resulting file to a transcription or study tool | Download or connect the recording before access expires |
| Mobile limitations | Desktop workflow is generally more capable | Host account and meeting permissions still apply |
Choose local recording when you need ownership of the file and plan to process it immediately. Choose cloud recording when centralized access matters more, then download an archival copy rather than treating the cloud as permanent storage. A practical comparison of recording platforms and workflows is available in this guide to meeting recording software.
Optimizing Audio and Video Settings Before the Call
A recording with clear slides but muddy speech produces weak study material. Transcription tools need intelligible voices, and students need enough visual detail to distinguish formulas, diagrams, and headings. Configure the capture environment before joining the lecture instead of trying to repair every problem afterward.
Prepare the audio path
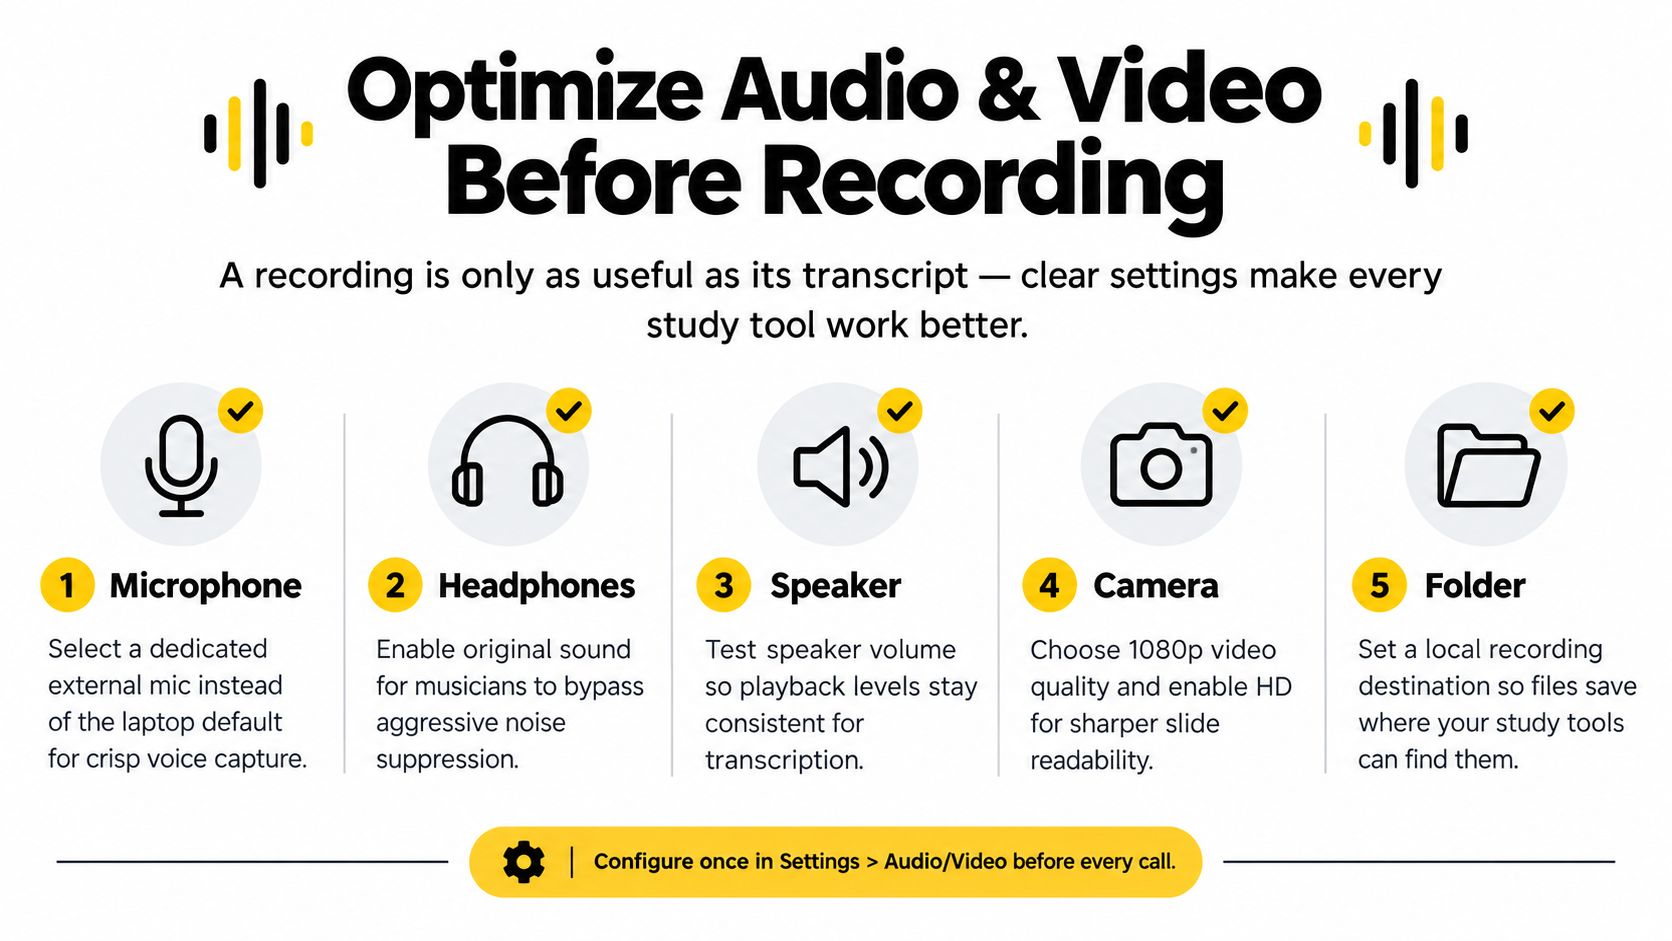
Use the clearest microphone available and test it in Zoom before class. An external microphone often gives speech-processing tools a cleaner signal than a laptop microphone, especially in a room with keyboard noise, fans, or reflections. Keep the microphone close enough for consistent volume, but out of the direct path of breathing and desk impacts.
Zoom's desktop settings also allow a separate audio file for each participant. Enable that option when several speakers will contribute, because separate tracks make later speaker attribution, transcription review, and cleanup easier when people talk over one another. This setting is particularly useful for seminars, interviews, and study groups where identifying who made a claim matters.
Use headphones when they prevent speaker feedback, and test both input and output before the meeting. Noise suppression can help in an ordinary classroom or home office, but aggressive processing may remove parts of speech or soften technical vocabulary. For a focused setup, review these practical techniques for reducing background noise on a microphone.
Keep the visual record purposeful
Select a layout that keeps shared slides readable. A gallery view may be useful for discussion, while a speaker or shared-screen view usually makes lecture review easier. If the instructor relies on small annotations, check the recording quality and screen-sharing preview before the class starts.
Zoom's documentation states that Recording Studio workflows can generate roughly 2–3 GB of recording data per hour at 1080p60, and it recommends at least 30 GB of cloud storage for users who record frequently, with heavy users advised to plan for 200 GB or more. These figures come from Zoom's recording quality and storage guidance. You don't need maximum quality for every lecture, but you do need enough clarity for the material you'll study.
Practical rule: Optimize for intelligible speech and readable slides, then confirm storage headroom before pressing Record.
Navigating Host and Participant Recording Permissions
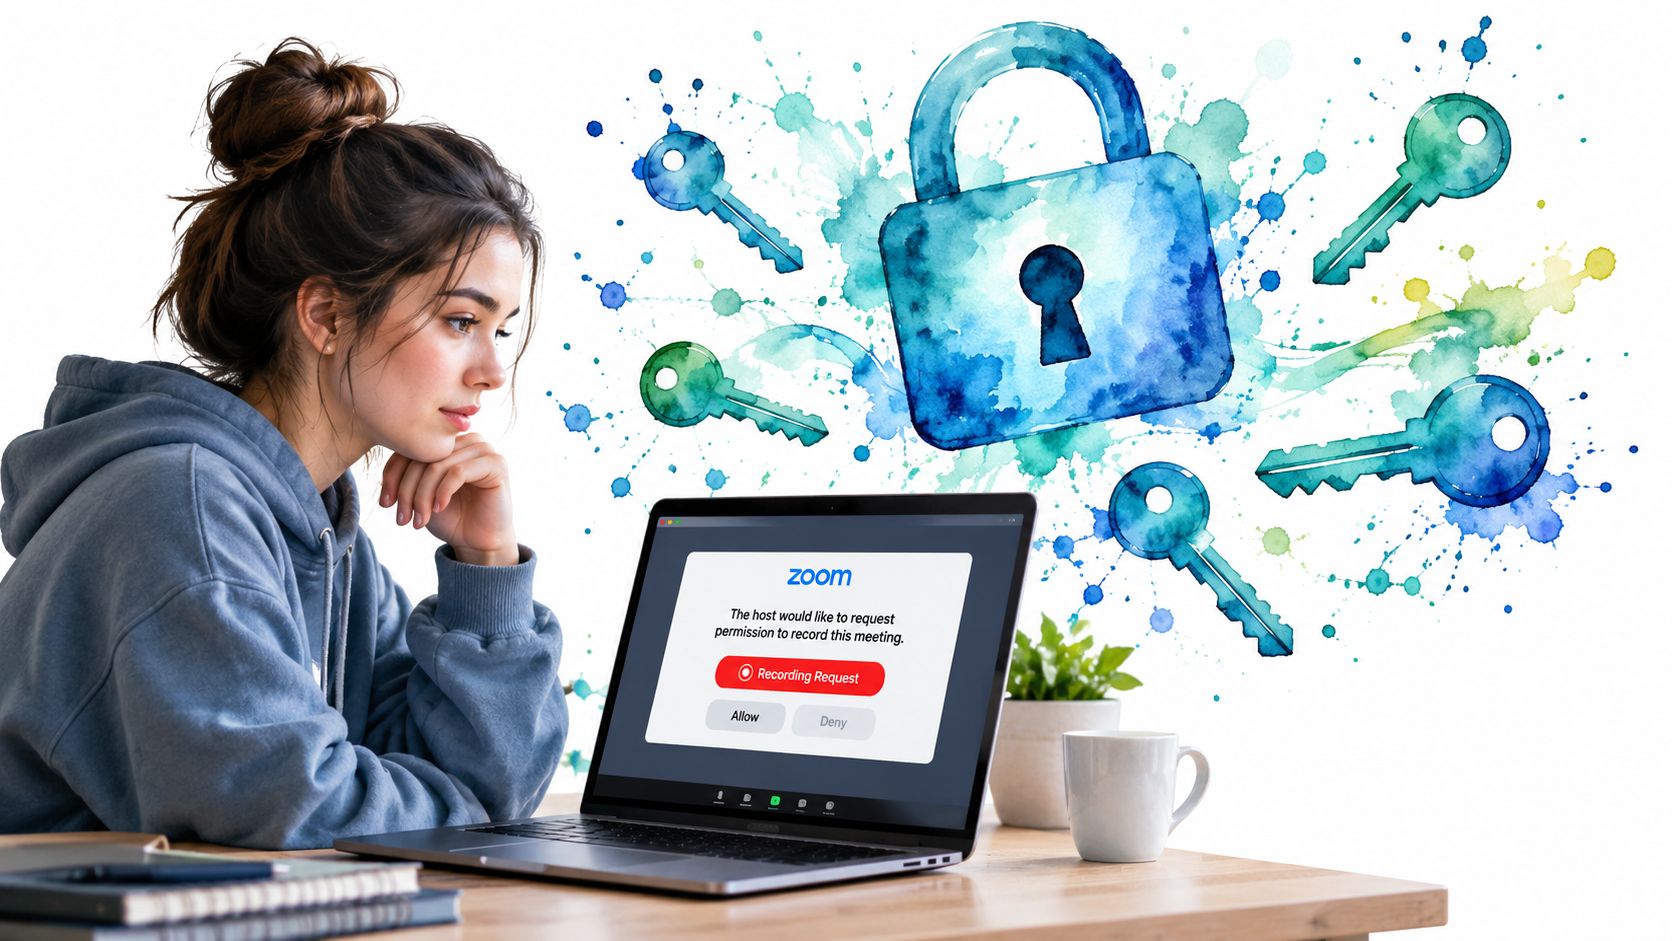
The host controls the recording workflow, and students often discover the limitation only after the lecture has started. A participant may not see the same recording controls as the host, especially when joining from a mobile device or an account governed by institutional settings. Permission isn't a technical detail to work around. It determines whether recording is available at all.
If you're the host
Start or join the meeting as host, select Record, and choose either Record on this Computer or Record to the Cloud. Zoom also supports automatic cloud recording through account settings. That option fits recurring lectures or meetings where missing the first few minutes would undermine the archive.
Before class, confirm three things:
- Account access: Cloud recording requires a paid account, while local recording follows a different availability path.
- Device support: Desktop hosts generally have more recording controls than mobile users.
- Storage destination: Local files need space on the host computer, while cloud files depend on the account's storage and retention rules.
A local recording can't be uploaded into Zoom Cloud afterward as though it had been created there. If the later workflow depends on centralized cloud access, select the cloud destination before the meeting begins.
If you're a participant
Ask the host before the meeting when possible. If the need arises during class, send a private chat message and explain that you want a copy for study or accessibility. The host may grant local recording permission, but participants generally won't receive the host's full cloud-recording workflow.
Mobile and non-host setups can be more restrictive, so switching devices at the last minute may not solve the problem. Third-party screen capture can technically produce a file in some environments, but it doesn't remove the need for consent, and it may capture lower-quality audio or omit useful Zoom recording artifacts. Treat an external recorder as a separately governed option, not a permission bypass.
Handling Privacy and Consent Requirements
A recording can contain a lecturer's voice, students' questions, names, faces, chat messages, shared documents, and personal disclosures. Saving that material creates responsibilities that continue after the meeting ends. A private study purpose doesn't automatically authorize redistribution, publication, or training an unrelated system on the recording.
Tell participants that the session will be recorded, explain why, and state who will have access. Zoom's recording workflow provides an in-meeting indication when recording begins, but a visible notification doesn't replace a clear conversation about use. For a course, follow the instructor's policy and the institution's rules before recording a lecture or discussion.
Recording for review is different from recording for distribution. Keep those permissions separate.
If an instructor prohibits recording, don't attempt to defeat the setting with a browser extension or another capture tool. Ask whether an official recording, transcript, slides, or alternative accommodation is available. That approach protects the instructor's privacy and gives you a legitimate study source.
Consent also matters when you upload the file into another service. Before processing a recording, check whether the material includes other participants and whether your course or workplace permits external processing. Remove unnecessary sections when practical, restrict sharing links, and avoid using a public upload location for private classroom content.
A transparent workflow is easier to sustain. The host knows what is being captured, participants understand how it will be used, and you can build study materials without turning a lecture archive into an uncontrolled copy of everyone's conversation.
Turning Zoom Recordings Into Interactive Study Materials
A two-hour recording is hard to review linearly. The productive question isn't “How do I watch all of this again?” It's “Which parts do I need to retrieve, explain, and recall?” That shift turns the Zoom file into source material for active study.
Start by preserving the original file. Rename it with the course, topic, and date, then keep an untouched copy before editing or compressing anything. If you recorded locally, use the audio file when speech is the main study target and the video file when slides, demonstrations, or visual notation matter.
Build the first study layer
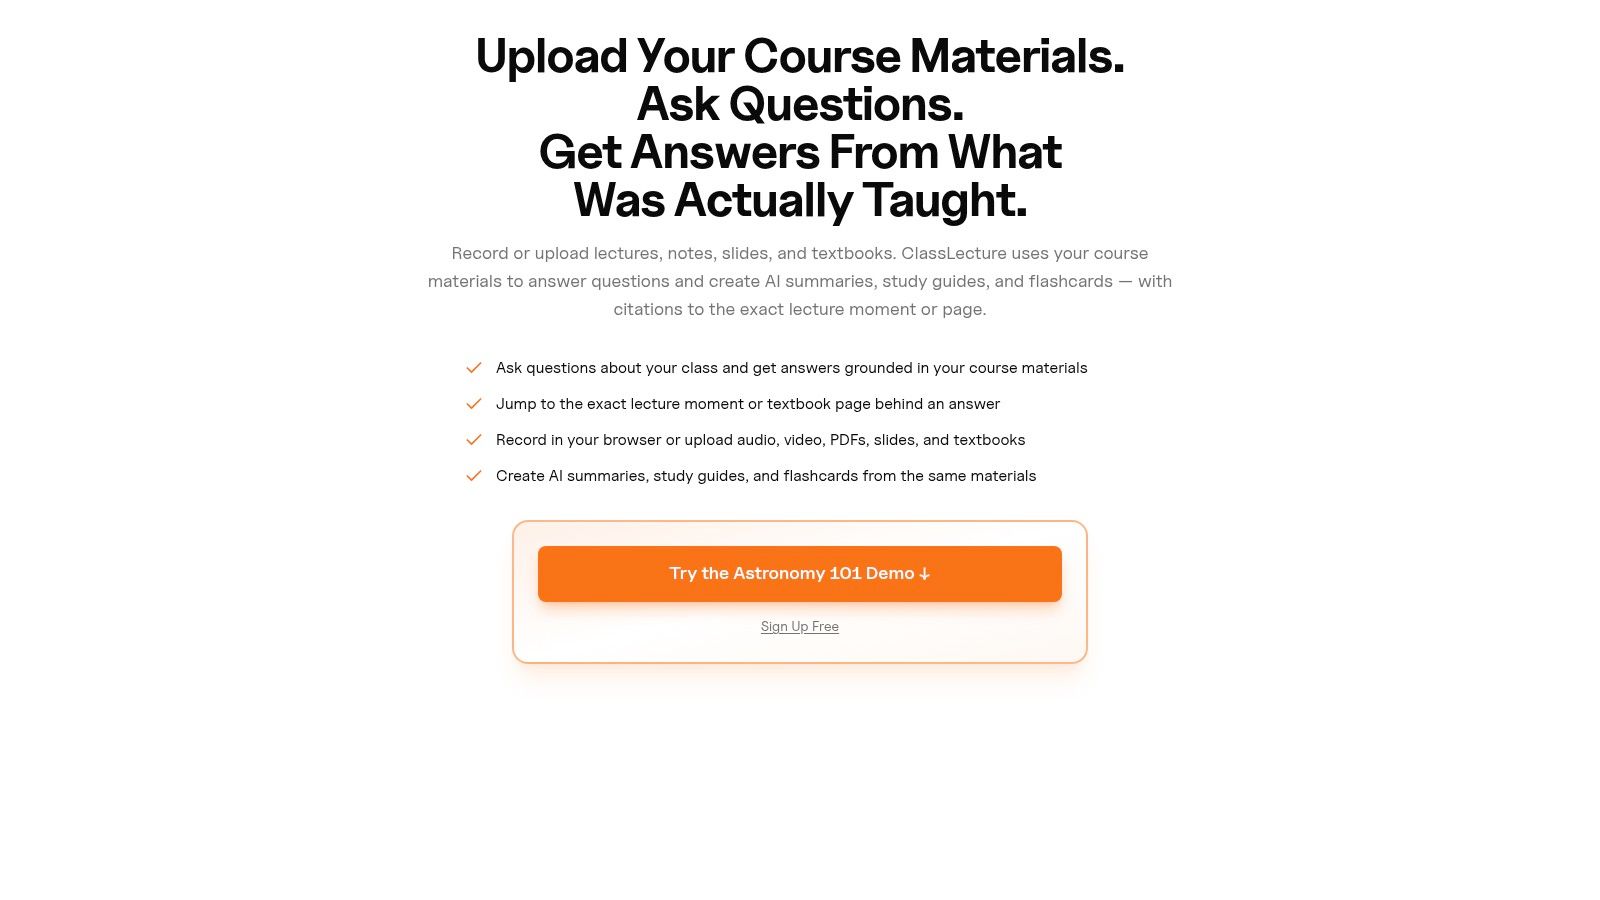
Upload the Zoom audio or video to an AI study assistant that can transcribe the source. ClassLecture.ai accepts audio and video uploads, including common formats such as MP3, MP4, M4A, WAV, MOV, and WEBM, and can organize materials by class. It can produce a transcript, summaries, study guides, conversational questions, and flashcards from the uploaded lecture.
Start with the transcript rather than the summary. Search for technical terms, definitions, examples, and points where the instructor changes topic. Mark passages that need clarification, then use the summary as a map of the session rather than as a replacement for the original explanation. Guidance on creating useful AI lecture notes can help structure that review.
Next, ask targeted questions:
- “What distinction did the lecturer make between these two concepts?”
- “Which example supported the definition?”
- “Where did the explanation of the second theorem begin?”
- “What assumption does this argument depend on?”
- “Create a short comparison table using only this lecture.”
A source-grounded Q&A workflow is more useful than generic questioning because it keeps the answer tied to the lecture. Timestamp citations let you return to the exact passage when the transcript is ambiguous or the answer needs verification.
Convert explanation into retrieval practice
Use the transcript to create questions, not just polished notes. Ask for flashcards that require a definition, a contrast, a sequence, or an application. Then review the cards without looking at the transcript. If you can't answer, return to the timestamp, repair the card, and test yourself again later.
The video can remain an evidence layer. Keep the original recording for slide-dependent material, while using the transcript and flashcards for fast retrieval. This division prevents you from spending study time searching manually through a long file.
The workflow can also include a short written pass:
- Read the generated summary.
- Identify claims you can't explain.
- Ask questions about those claims.
- Create or edit recall prompts.
- Review the prompts at spaced intervals.
- Reopen the recording only when the source context is necessary.
AI output still needs checking. Poor audio, overlapping speakers, and unclear slide references can produce incomplete transcripts or overconfident summaries. Treat every generated card as a draft until it agrees with the lecture, your textbook, or the instructor's materials.
Managing Storage Limits and Retention Policies
A cloud recording is convenient, but convenience can create false confidence. Zoom provides a web portal where cloud recordings can be searched by meeting ID, topic, host, date range, or keyword. Zoom also documents that deleted cloud recordings can be recovered from the trash within 30 days, and that cloud recording usage reports cover the last 12 months, as described in its recording management and reporting guidance.
Those retrieval features help you find active material. They don't guarantee permanent ownership. University IT policies demonstrate the risk: one campus warned that recordings older than 16 months would be permanently deleted, while another announced a 3-year retention policy beginning later in 2025. Treat those institutional examples as evidence that retention varies, not as a universal Zoom rule.
Create a durable archive
Download important recordings before the course ends or before an administrator's retention window reaches them. Keep the original video, the audio-only file when available, the transcript, and the generated study materials in a folder named for the course and lecture topic.
Use a simple archive routine:
- Name consistently: Include the course, lecture topic, and date.
- Keep originals: Don't overwrite the untouched Zoom file with a compressed or edited version.
- Separate study outputs: Store transcripts, summaries, flashcards, and questions beside the source recording.
- Back up independently: Keep another copy outside the device that created the recording.
- Review access: Remove sharing permissions that classmates no longer need.
You don't need to preserve every routine meeting forever. Archive recordings that support exam preparation, unresolved questions, research notes, or accessibility needs, and delete material you no longer have a legitimate reason to retain. The durable system is not “save everything.” It's capture deliberately, process quickly, back up what matters, and practice from the resulting questions.
ClassLecture.ai turns Zoom recordings and other lecture files into searchable transcripts, AI summaries, study guides, conversational Q&A, and flashcards for spaced review. Upload a recording or use its meeting capture workflow, then visit ClassLecture.ai to turn your next Zoom lecture into an active study resource instead of another forgotten video file.
The ClassLecture.ai Team
We build ClassLecture.ai, the AI study assistant that turns your recorded lectures into transcripts, summaries, flashcards, and answers cited to the exact timestamp — so you learn faster from your own professor's words.
Keep reading
10 Lecture Transcription App Options Compared
Compare 10 lecture transcription app options for accuracy, study workflows, pricing, integrations, and privacy before choosing a tool.
ReadFlashcards for Study Notes That Actually Stick
Learn how to turn class notes and recordings into flashcards for study notes that boost recall with manual and AI workflows, spacing, and review tips.
ReadLecture Notes AI Explained How It Turns Lectures Into Study
Discover what lecture notes AI does, how it works, its benefits and limits, and how to turn recordings into transcripts, flashcards and Q&A.
Read