Meeting Transcription Zoom: Record, Export and Search
Meeting Transcription Zoom guide: export cloud and local recordings, transcribe them, check accuracy and handle consent before you record.
You're staring at a Zoom recording from yesterday's lecture, seminar, or study group, knowing the one definition or decision you need is buried somewhere in ninety minutes of audio. Scrubbing the timeline wastes time, and half remembered notes don't hold up when you need to quote, revise, or act. A good meeting transcription Zoom workflow fixes that, but only if you choose the right capture method, get consent properly, export the right files, and check what the software heard before you trust it.
Table of Contents
- Which Zoom Transcription Method Fits Your Session
- Consent Workflow Before You Hit Record
- How to Export Cloud and Local Zoom Recordings
- Uploading or Capturing Zoom Audio in ClassLecture.ai
- Speaker Labels, Timestamps and Searchable Notes
- How Accurate Zoom Transcripts Really Are
- Build a Repeatable Zoom Transcript Routine
Which Zoom Transcription Method Fits Your Session
Pick your method by the output you need, not by which button you find first. Cloud recordings, local recordings, live captions, AI Companion summaries, browser capture, and file upload all produce different records, and they don't substitute cleanly for one another.
That spread exists because Zoom moved in stages. It started with post meeting cloud transcription attached to cloud recordings, then added real time captions and AI generated summaries. Zoom support documentation states that, beginning with Workplace app version 6.5.3, users can access live transcription processed directly on their device rather than through cloud processing.
Where processing happens matters if your session involves sensitive classroom, research, health, or business discussion. It doesn't settle privacy on its own, since account settings and your institution's policy still control storage, sharing, and retention.
Zoom Transcription Methods Compared
| Method | What You Need | What You Get | Best For |
|---|---|---|---|
| Cloud recording transcript | Cloud recording enabled and access to the recording | Timestamped audio transcript file alongside the recording | Classes and meetings you host or own |
| Local recording | Local recording turned on in the Zoom desktop app | Audio and video files on your device; transcript depends on settings | Offline storage and sessions you control |
| Live captions | Captions enabled in the meeting | On screen text during the session; saved transcript depends on settings | Following along in real time |
| AI Companion summary | AI Companion enabled on an eligible account | Summary and recap notes after the meeting | Quick recaps of long meetings |
| Browser capture in ClassLecture.ai | Chrome or Edge on desktop, Zoom open and audio playing | Searchable, timestamped transcript | Capturing a session you attend without adding a bot |
| Upload of an exported file | Any exported audio or video file | Transcript after processing, ready for search and questions | Recordings you already downloaded |
If you host the session and you have cloud recording, I would start with the cloud transcript. It's the default because the file sits with the recording and carries timestamps you can use to check disputed lines.
If you need files on your own device, or you're handling sensitive material and want tighter control over where copies live, choose local recording. Accept the trade off. You own the file management, and you may not get a ready made transcript with it.
If you missed the live session, don't chase captions you can't recover. Export the recording and upload the file instead. If you're attending a session someone else hosts and you don't want to add a bot participant, browser capture in Chrome or Edge records the audio playing on your machine.
For a broader walkthrough of the native recording and download route, Taja AI's guide to Zoom transcription covers the Zoom side in useful detail. Before your next session, match your account to one row in the table and confirm that the required setting is already on. A method you discover after the meeting helps no one.
Consent Workflow Before You Hit Record
A Zoom recording notice isn't consent. It tells people capture is happening, but it doesn't tell them what else is captured, how long it'll be searchable, or what happens if they object next week.
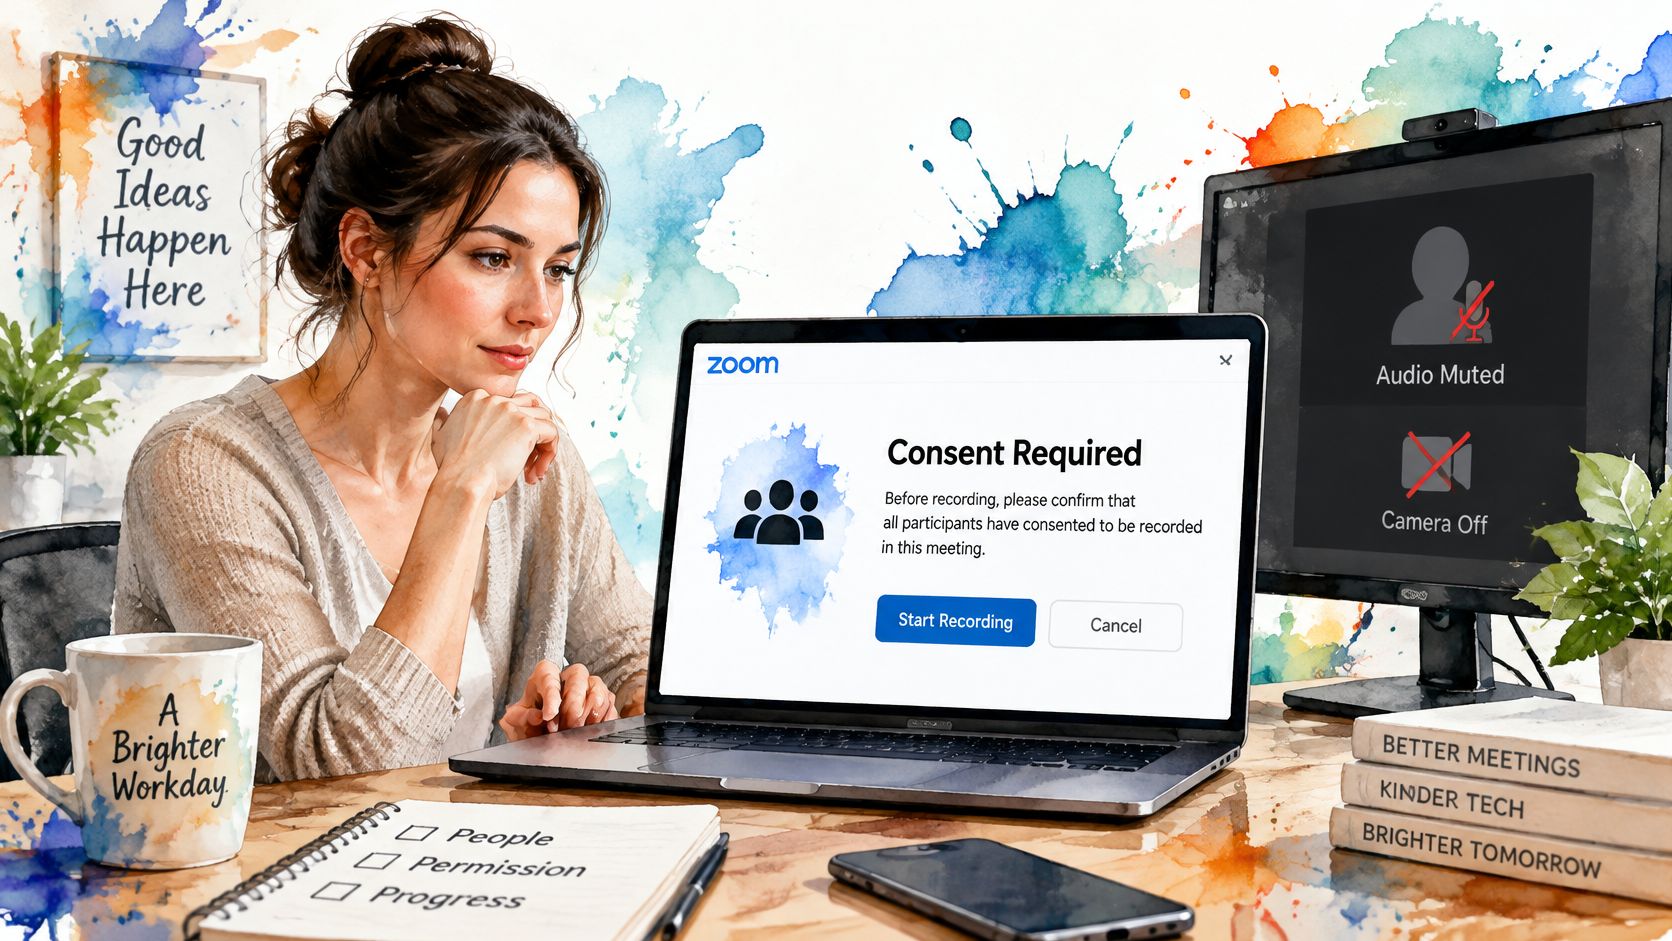
Zoom's current guidance indicates that hosts can require consent for AI meeting features and that participants who refuse may remain only with audio muted and camera off. Many institutions go further and expect affirmative consent, and participation alone doesn't satisfy that standard.
Run Consent as a Sequence
- Announce it twice. Put transcription in the invitation, then say it again at the start before anyone speaks at length.
- Name everything captured. Cover chat messages and text shown on shared screens, not just voices.
- Offer a non recorded path. Accept written questions, or let someone attend with audio muted and contribute afterwards.
- Record permission clearly. Use a written reply or an unambiguous verbal confirmation that you note down.
- Set retention and deletion dates. Say when the recording and transcript will be removed, and stick to it.
- Pause for sensitive discussion. Stop capture for health disclosures, personal histories, or student accommodations.
- Handle withdrawal properly. If someone objects later, remove their contribution and check every copy, summary, and flashcard set built from it.
That last step is where many users get caught. Deleting the transcript while leaving a summary quoting the person isn't removal.
Transcription helps absent and disabled learners, but a permanent searchable record can also make students afraid to think out loud.
Hold both truths while you design the session. Coaches running international groups face the sharpest version of this, because rules differ by location and institution, so check local requirements before you record. It helps to think through whether you can record a meeting before the invite goes out, not after someone raises a concern.
How to Export Cloud and Local Zoom Recordings
Before anything else, ask the host to confirm in Zoom settings that cloud recording and the audio transcript are both turned on. No transcript exists for a meeting recorded without that setting, and you can't fix it retroactively. Check before the session, never after.
Export a Cloud Recording
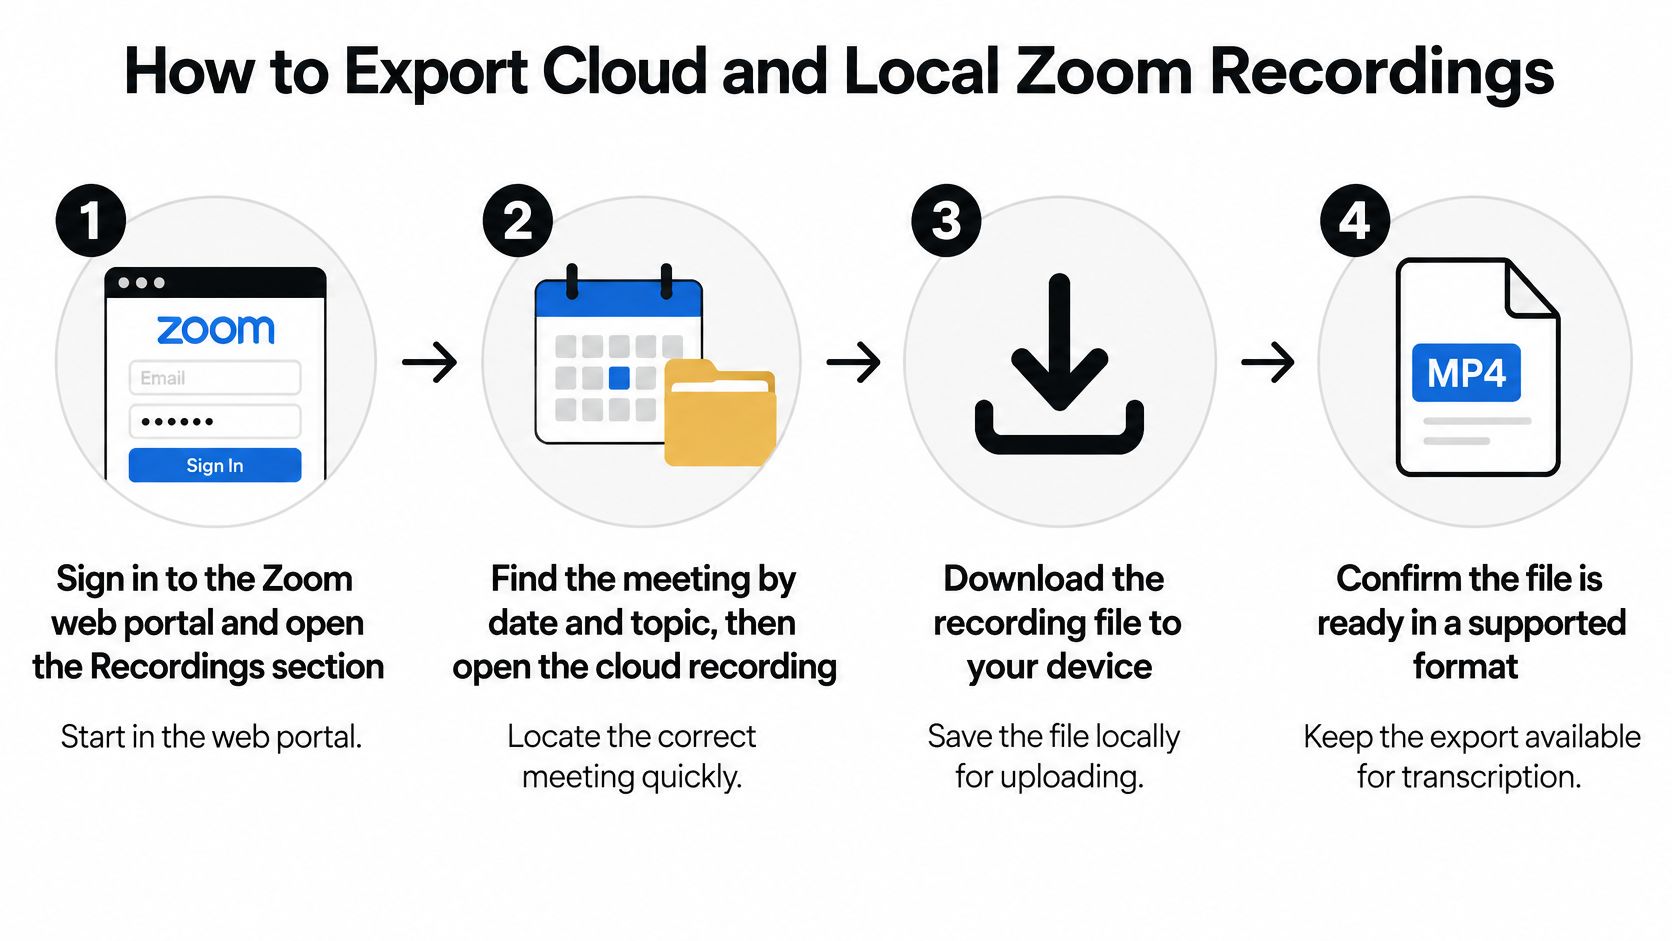
- Sign in to the Zoom web portal and open Recordings. The desktop app is where you meet, but the portal is where cloud files and transcripts live.
- Find the meeting by date and topic, then open it. Similar titles from a recurring class look identical at a glance, so date checking prevents you exporting last week's session.
- Download the audio transcript file, usually VTT or TXT, together with the MP4 or M4A recording. The transcript alone isn't enough. You need the audio beside it for verification.
- Rename every file at download. Use the course or meeting name plus the date, so files sort correctly months later without you opening each one.
- Play the first and last minute. That quick check confirms the recording covers the whole session rather than stopping at a break.
Download promptly once processing finishes. Retention settings delete cloud recordings on a schedule you may not control, and a transcript tied to an expired recording is a dead end.
Export a Local Recording
Open the folder set in your Zoom settings, normally named with the meeting ID and date. Look for the audio only M4A file and any transcript file stored with it. Audio only is usually the right file to transcribe, since it's smaller and carries everything the speech engine needs.
Expect three common problems. A recording can stop early, or a meeting can split into several files after a pause, so check total runtime against how long the session ran. A transcript may exist for the cloud version but not the local one, which means you'll generate one from the audio yourself. And files copied into synced folders sometimes upload incomplete, so keep the original local copy until you've verified the copy plays end to end.
Practical rule: Keep the original exported file untouched as your reference copy, even after you've produced a clean, corrected transcript.
That discipline pays off every time a summary, flashcard, or answer rests on a word you can't quite trust. You go back to the original audio, settle the line in seconds, and correct the working copy. Without that reference copy, you're guessing, and guesses copied into study material get repeated as facts. Rename, verify coverage, store the original somewhere stable, and only then move on to turning the file into study ready text.
Uploading or Capturing Zoom Audio in ClassLecture.ai
Once you have a file you trust, you have two routes in. The first suits recordings that already exist, and the second suits sessions you're attending live.
Path A Upload an Exported File
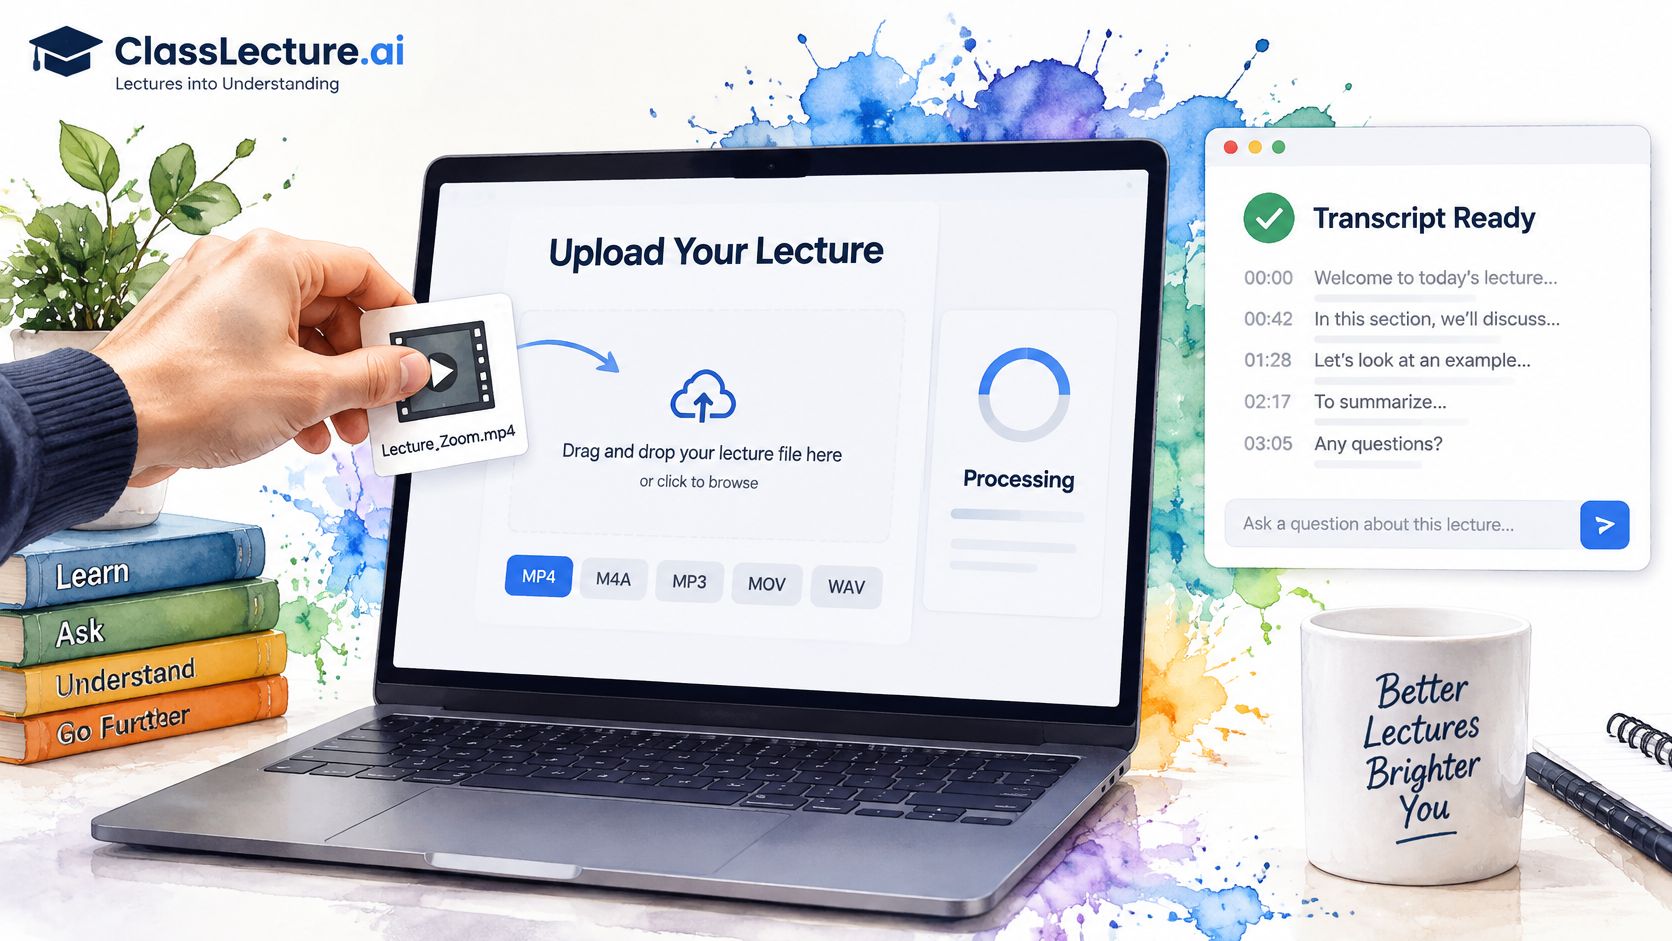
Open Upload Your Lecture and add your exported file in MP4, M4A, MP3, MOV, or WAV format. Lectures can be recorded in the browser or uploaded as audio or video recordings, then turned into a searchable transcript. A 1 hour lecture is typically transcribed in about 5 minutes, and you can start asking questions from it once processing finishes.
Path B Capture a Live Session
On desktop Chrome or Edge, open Record Meeting and choose the Zoom tab or system audio as your source. You can mix in your own microphone so your questions and contributions are captured alongside the session audio. Keep the Zoom window open and the audio playing for the whole session, because you can't transcribe sound your machine never played.
The short demonstration below shows the capture flow in practice, so you can see the source selection before you try it during a real class.

Three edge cases cover most failures. A multi hour recording uploads more reliably in batches, so split it rather than sending one large piece. Browser recording saves audio as it goes, so a partial session survives an interruption instead of vanishing. And a file with no audible speech produces an empty transcript, so play the source for ten seconds before blaming the tool.
If you want the full picture of how the lecture transcription workflow handles recordings after upload, read that before your first real session. Then check the first minute of transcript against the audio before you rely on any answer it gives you.
Speaker Labels, Timestamps and Searchable Notes
A transcript without names and timestamps is a wall of text you can't search properly or cite at all. Fixing that takes minutes per session and saves far more later.
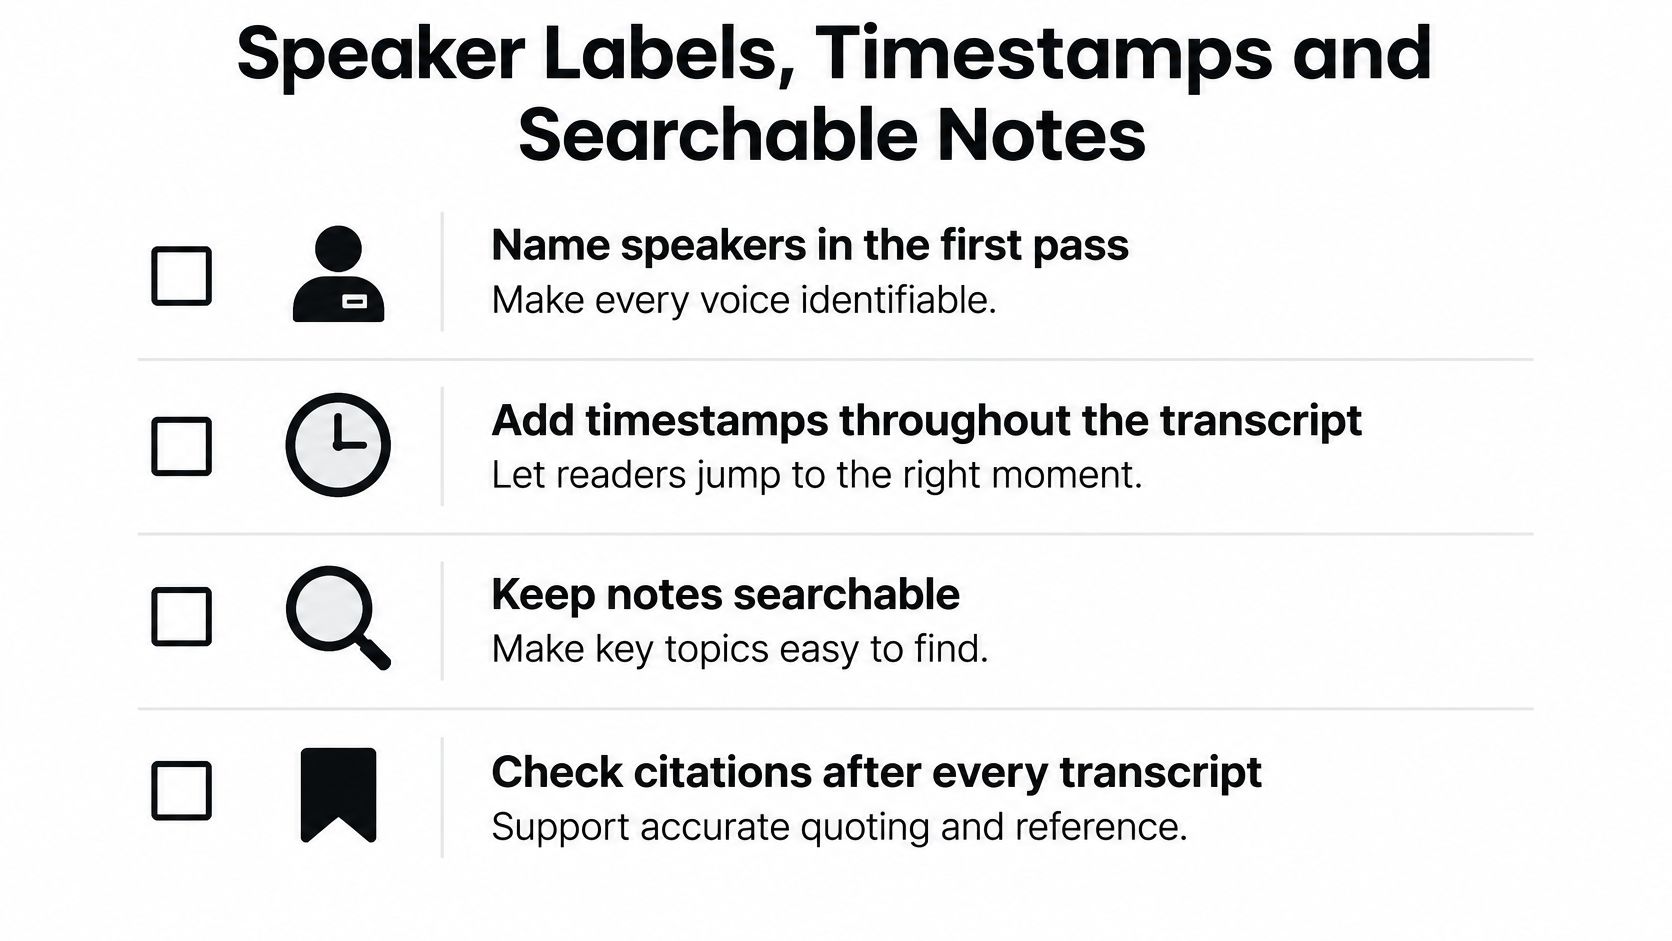
After Every Transcript
- Name speakers early. Identify voices in the first two minutes and replace automatic labels like Speaker 1 with real names.
- Add timestamped topic headings. Mark each shift, for example Week 4, hypothesis testing, 00:23:10, so future you jumps straight to the segment.
- Search by key term first. Then jump to that timestamp and listen to the surrounding context before quoting anything.
- Tag questions and decisions. Group meetings bury commitments in discussion, and tags make them findable weeks later.
- Fix proper nouns by hand. Drug names, case names, product names, and technical terms are where automatic transcription fails most often.
- Clean only the shared copy. Remove filler words from the version you circulate, never from the original transcript.
- Keep the original audio linked. Any line should be checkable against what was said.
Overlapping speech breaks this system if you let it. Two people talking over each other often merge into one line under a single label, which misattributes who said what. Split those lines manually, assign your best label, and mark them uncertain so nobody treats them as settled.
That effort compounds when you study from the transcript. The workflow is to record or upload a lecture, get a searchable timestamped transcript, then study with the class materials, including answers tied to exact lecture moments. Accurate labels make those timestamp citations worth following. Students juggling several courses can pair this with Kohru's student time management guide to protect a short weekly slot for transcript cleanup instead of facing a backlog before exams.
How Accurate Zoom Transcripts Really Are
Don't ask whether Zoom transcription is accurate in general. Ask what it did with your speakers, your room noise, and your vocabulary, because reported figures swing widely between setups.
Reported Zoom Transcript Accuracy Figures
| Source | Reported Figure | Context |
|---|---|---|
| Zoom meetings with AI Companion | 85% accurate | University of Colorado Boulder evaluation, 2025, under the institution's own test conditions |
| Zoom meetings without AI Companion | 48% accurate | Same evaluation and conditions |
| Third party tools on imported Zoom recordings | 75% to 96% | Range depends on the application used |
The University of Colorado Boulder Office of Information Technology evaluation reported in 2025 that Zoom meetings transcribed with AI Companion were 85% accurate, while meetings transcribed without AI Companion were 48% accurate, and third party tools applied to imported Zoom recordings ranged from 75% to 96%, depending on the application.
Treat those numbers as a warning about configuration, not a promise about your next class. That evaluation used the institution's own testing conditions, and Zoom does not publish one fixed accuracy percentage for every meeting. Your results will move with overlapping speech, accents, technical vocabulary, background noise, and speaker identification.
Audio quality is the variable you control most directly. A close microphone and a quiet room beat any post processing, though understanding how AI dialogue cleaning works helps when you're deciding whether noisy source audio is worth rescuing or re recording.
Verify with a routine you can repeat. Spot check roughly ten minutes for every hour of lecture, concentrating on numbers, names, definitions, and any line you'll quote or turn into a flashcard. For a fuller method, how to transcribe audio to text covers the checking habits in more depth.
For high stakes content, check against the original recording and your course materials before relying on it. AI transcripts, summaries, flashcards, answers and citations may be inaccurate or incomplete, and you should verify important information against your original recordings and course materials.
Build a Repeatable Zoom Transcript Routine
Make it boring and it'll survive a busy term. Before the session, pick your method, confirm the setting is on, announce transcription, and offer a non recorded path. During the session, keep Zoom and its audio running and name speakers early so labels are easy to fix.
Within a day afterwards, export or confirm the transcript, check the first and last minutes, and spot check numbers and names. Add timestamped topic headings, then upload the cleaned copy. All plans include the ability to record lectures and meetings in the app and to view transcriptions, so the routine doesn't depend on a particular tier.
A Zoom transcript is a first draft that becomes reliable only after you verify it.
Run the routine once on a low stakes session before you trust it for revision. You can sign up and upload your first lecture in about 60 seconds, which makes that trial run cheap.
Turn your next Zoom class or study session into a searchable, timestamped transcript you can question, summarise, and revise from, with answers tied to the exact moment something was said. Upload an exported recording or capture a live session in your browser, verify the lines that matter, and build your study material on checked text. Start with one real lecture at ClassLecture.ai and run the full routine before your next exam cycle.
The ClassLecture.ai Team
We build ClassLecture.ai, the AI study assistant that turns your recorded lectures into transcripts, summaries, flashcards, and answers cited to the exact timestamp — so you learn faster from your own professor's words.
Keep reading
How to Save YouTube Videos as Audio Files Legally
Learn how to save YouTube videos as audio files you are allowed to keep, choose MP3 or M4A, and import them for study.
ReadZoom Meeting Transcript Explained and How to Use It
Learn what a Zoom meeting transcript is, how transcription works, permissions, and how to use your Zoom meeting transcript for study and review.
ReadCan I Record a Meeting? When It Is Legal and How to Do It
Can I record a meeting? Usually yes, but consent rules vary by location. Learn when it's allowed, how to capture audio and stay compliant.
Read